How to Distress Furniture

Last week's summer-like weather inspired me to get working on some furniture. With the garage doors up and the sun beaming in, furniture prepping and painting was a breeze. These two side tables / night stands have been sitting in my garage for over a year and a half... I had no motivation to complete them because I didn't think they were the greatest pieces to work with. Even though the wood grain is a beautiful colour I wasn't 100% sure of the finish I should do? I'v always admired the beautiful work from Momtique and FarmHouseFare which I follow on my Instagram, so I decided to give these pieces a distressed look (and because distressing is fun). After I painted and distressed these guys, I fell it love, never underestimate the good bones of furniture, and what a little paint can do.
How to Distress Furniture
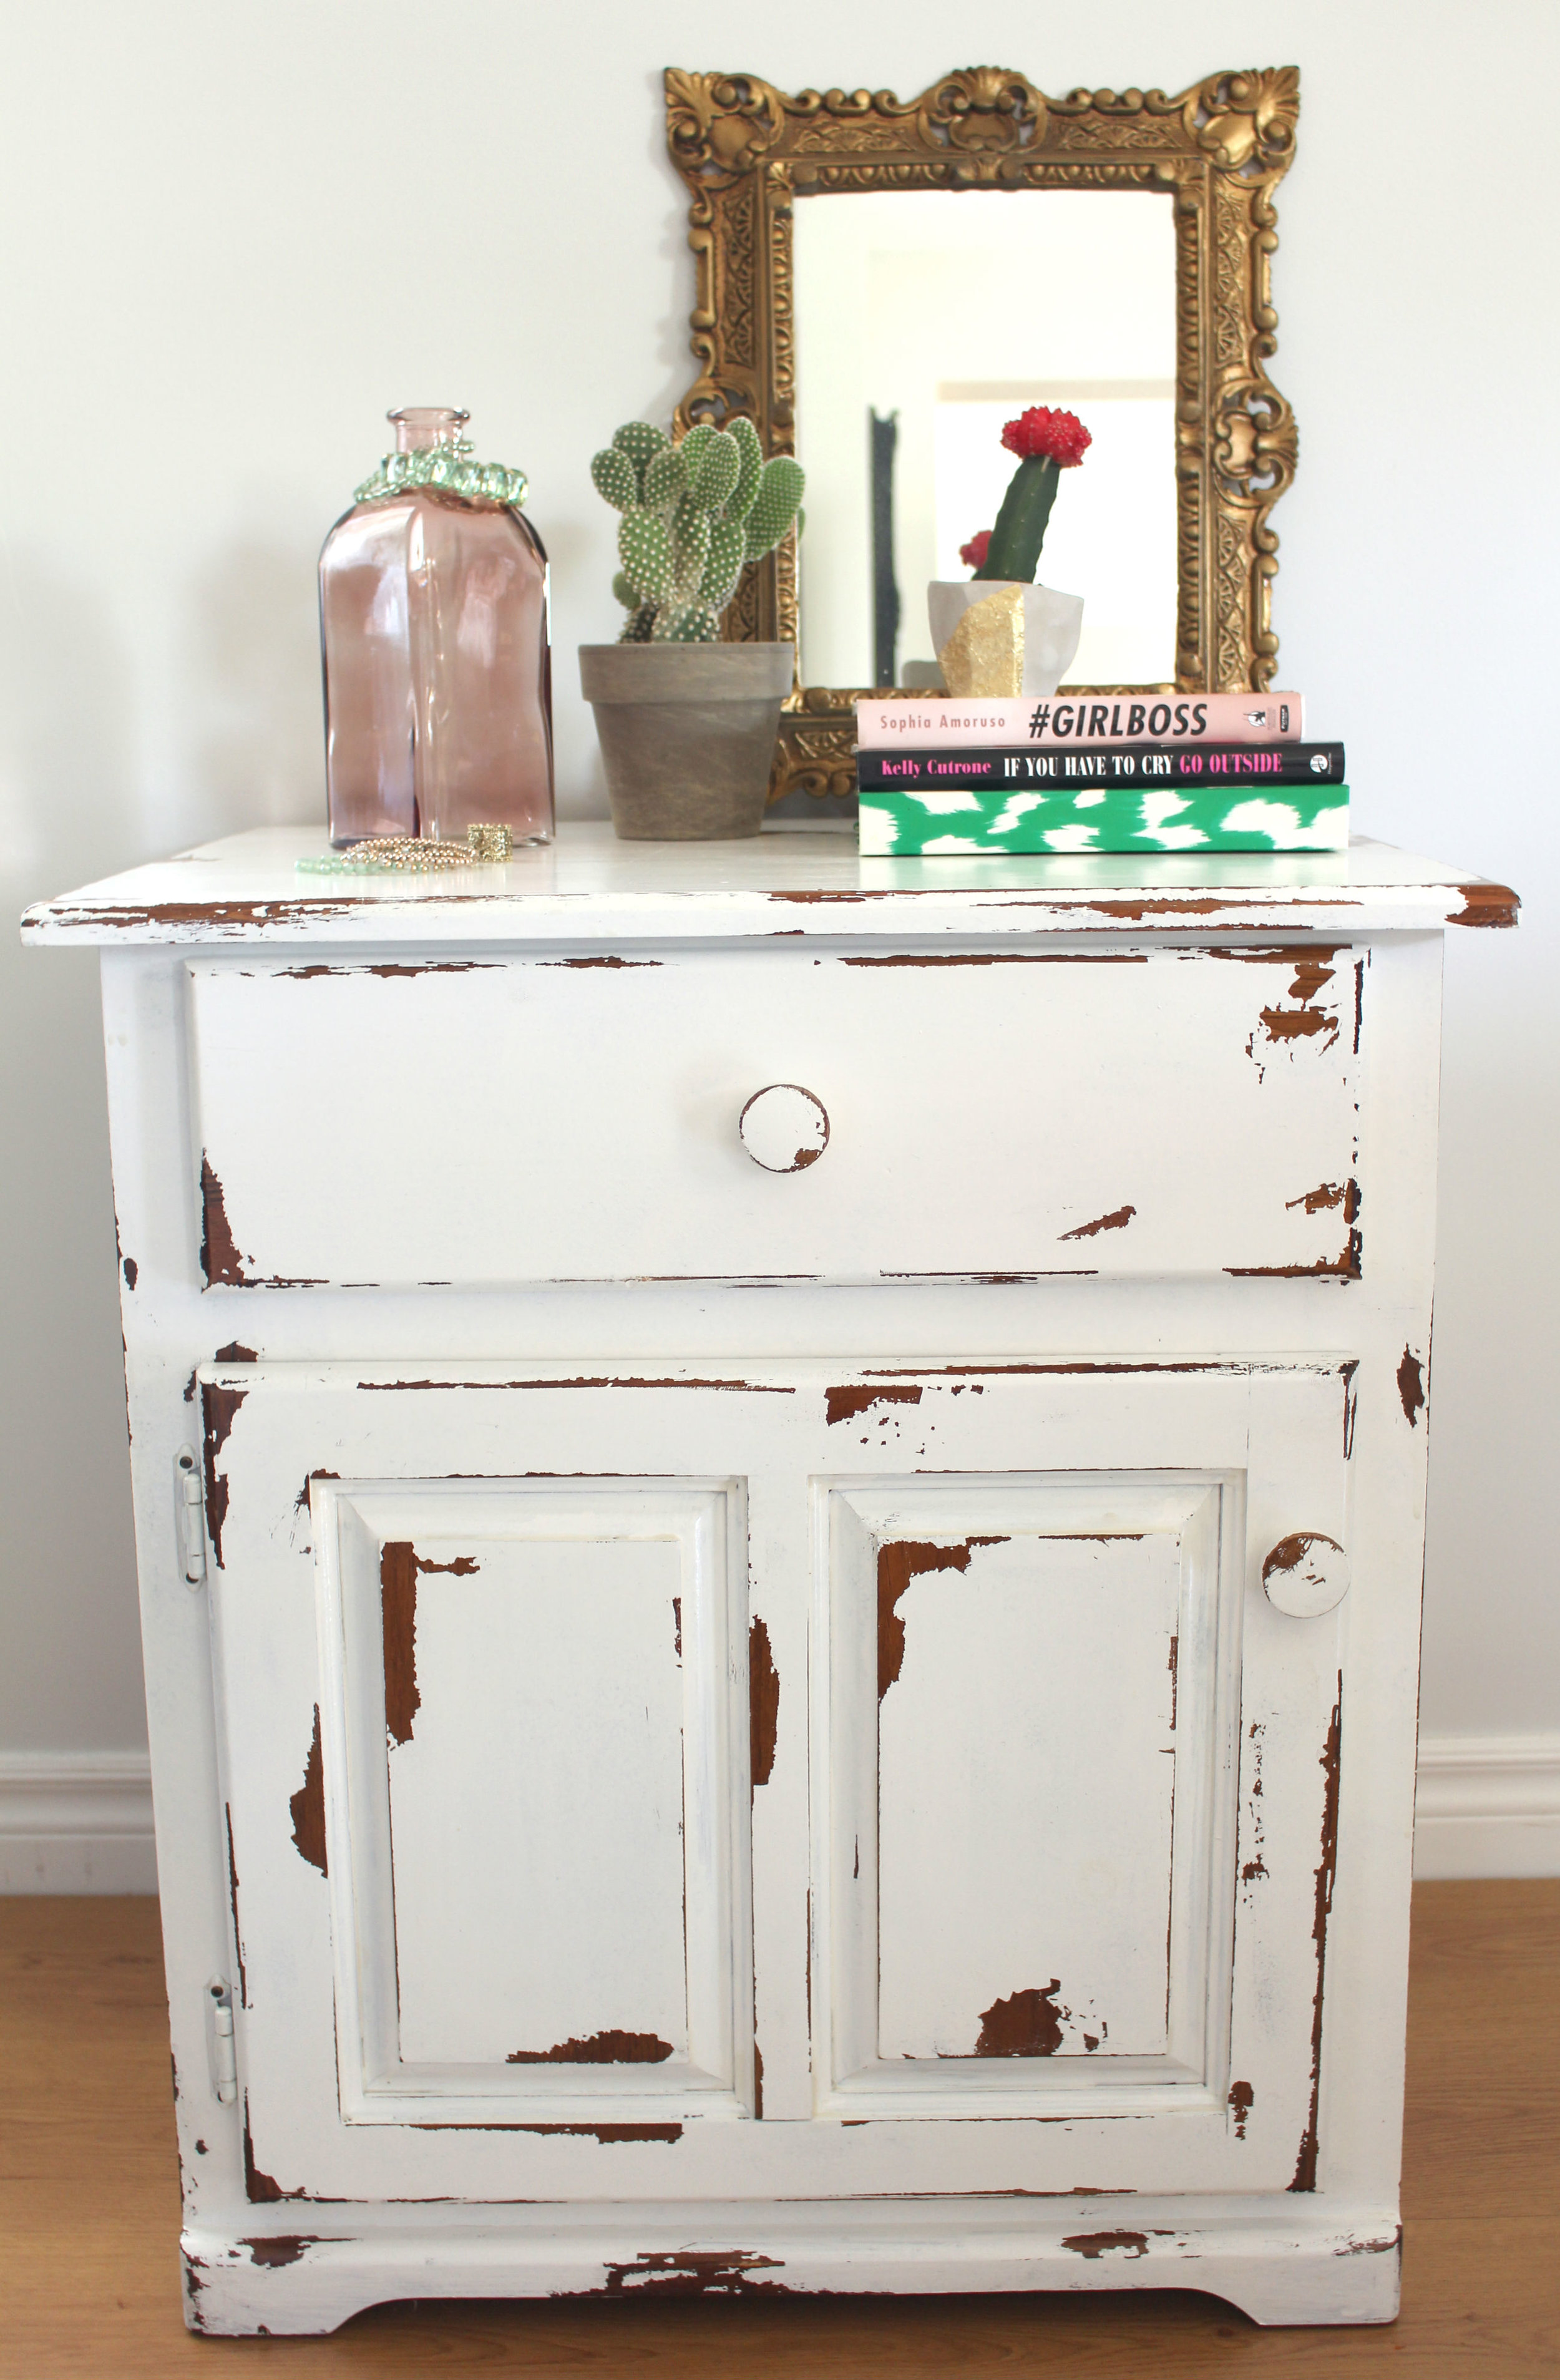
These side tables were sanded, painted in Polar Bear white, distressed and coated in poly.
 The before.
 Step 1: Remove all hardware, drawers and doors of your furniture. Using a hand sander, lightly sand all surfaces that are going to be painted. After sanding, dust and whip down your furniture with some soap and water to remove any access dust.
  Step 2: With a few different techniques for distressing furniture, the technique I like to use requires vaseline (also seen in this post). By applying a thin layer of vaseline in areas you want a larger amount of distressing, the vaseline prevents the paint from adhering to the wood. *This makes it easy to sand or scrap the paint after it is dry.
 Step 3: Using a paint brush, cut in areas the roller cannot reach. *On the door knob above, you can see where the vaseline was applied.
 Step 4: Once you have cut in with the paint brush, use a roller to cover the rest of the wood surface. Since I was planning to distress the furniture, I did two coats of white paint, where as if it was staying completely solid white I would have done three.
 Step 5: After 24 hours of your paint curing, its time to begin distressing your furniture. Using a combination of the hand sander and paint scraper, begin distressing the areas that were covered in vaseline. After all the distressing is done, I take the hand sander and run it over all surfaces to make sure they are smooth.* The paint scraper gives a old-aged chip effect.
 Step 6: Wipe down all of the painted/distressed furniture using soap and water. Once the furniture is completely dry, its time to apply some polycrylic. Polycrylic is a protective topcoat that prevents damage to your surface. It's great for light paint colours because it won't yellow over time like some topcoats. I applied two coats using a good paint brush and lightly sanded after the first coat.
 There you have it! Beautiful distressed furniture for your home :)


Now that you know how to distress furniture, go tackle an old dresser or side table and give it some new life- plus you can't really mess up if the outcome is a old and rugged look, right!? If you already distress furniture, what technique do you use?