#TheGreyHouseBuild: Progress Update 02
We're almost on the home stretch!
Building has been a whirlwind of mixed emotions, decision-making indecisiveness to a max and an anticipating process. It's been about a year since we were staring at floor plans on a piece of paper by Imagine Your Home and dreaming up how each room would flow together. Now we are physically walking around the walls of our home, seeing our house go from paper to the real thing is unbelievable! It's been such a meticulous journey where, literally, a good year is needed to make all these important decisions, some you never knew existed until you're knee-deep into the building process (and it helps to have an amazing father-in-law who knows everything about building a house).Being apart of the house building process depends on your personality too... Some people love being involved in the whole building process, to them all the decisions are easy and they never second guess themselves. Some like to make the few finishing (limited) decisions and leave the rest up to the builder. Others (like me) like to make majority of the decisions with/without a professional and analyze each and every decision. A lot of the time, I like to know exactly how something is going to look, therefore Pinterest has been my BFF for sourcing inspiration right from the get-go. To be fair, majority of the beautiful images we see on Pinterest can come from homes worth $$$$$$- that is where you have to learn how to make a list of necessity vs. luxury and weave through what is realistic vs. costly... like yes, that white and gold La Cornue range looks bad ass, but it's not on our list of necessities.Needless to say, I have learned so much from this crazy journey, and hopefully will carry away some useful information to others whom walk down a similar building journey with 1 million questions. Note: I probably don't know the answer for you, but I can share my experience ;)
So where are we at now!?
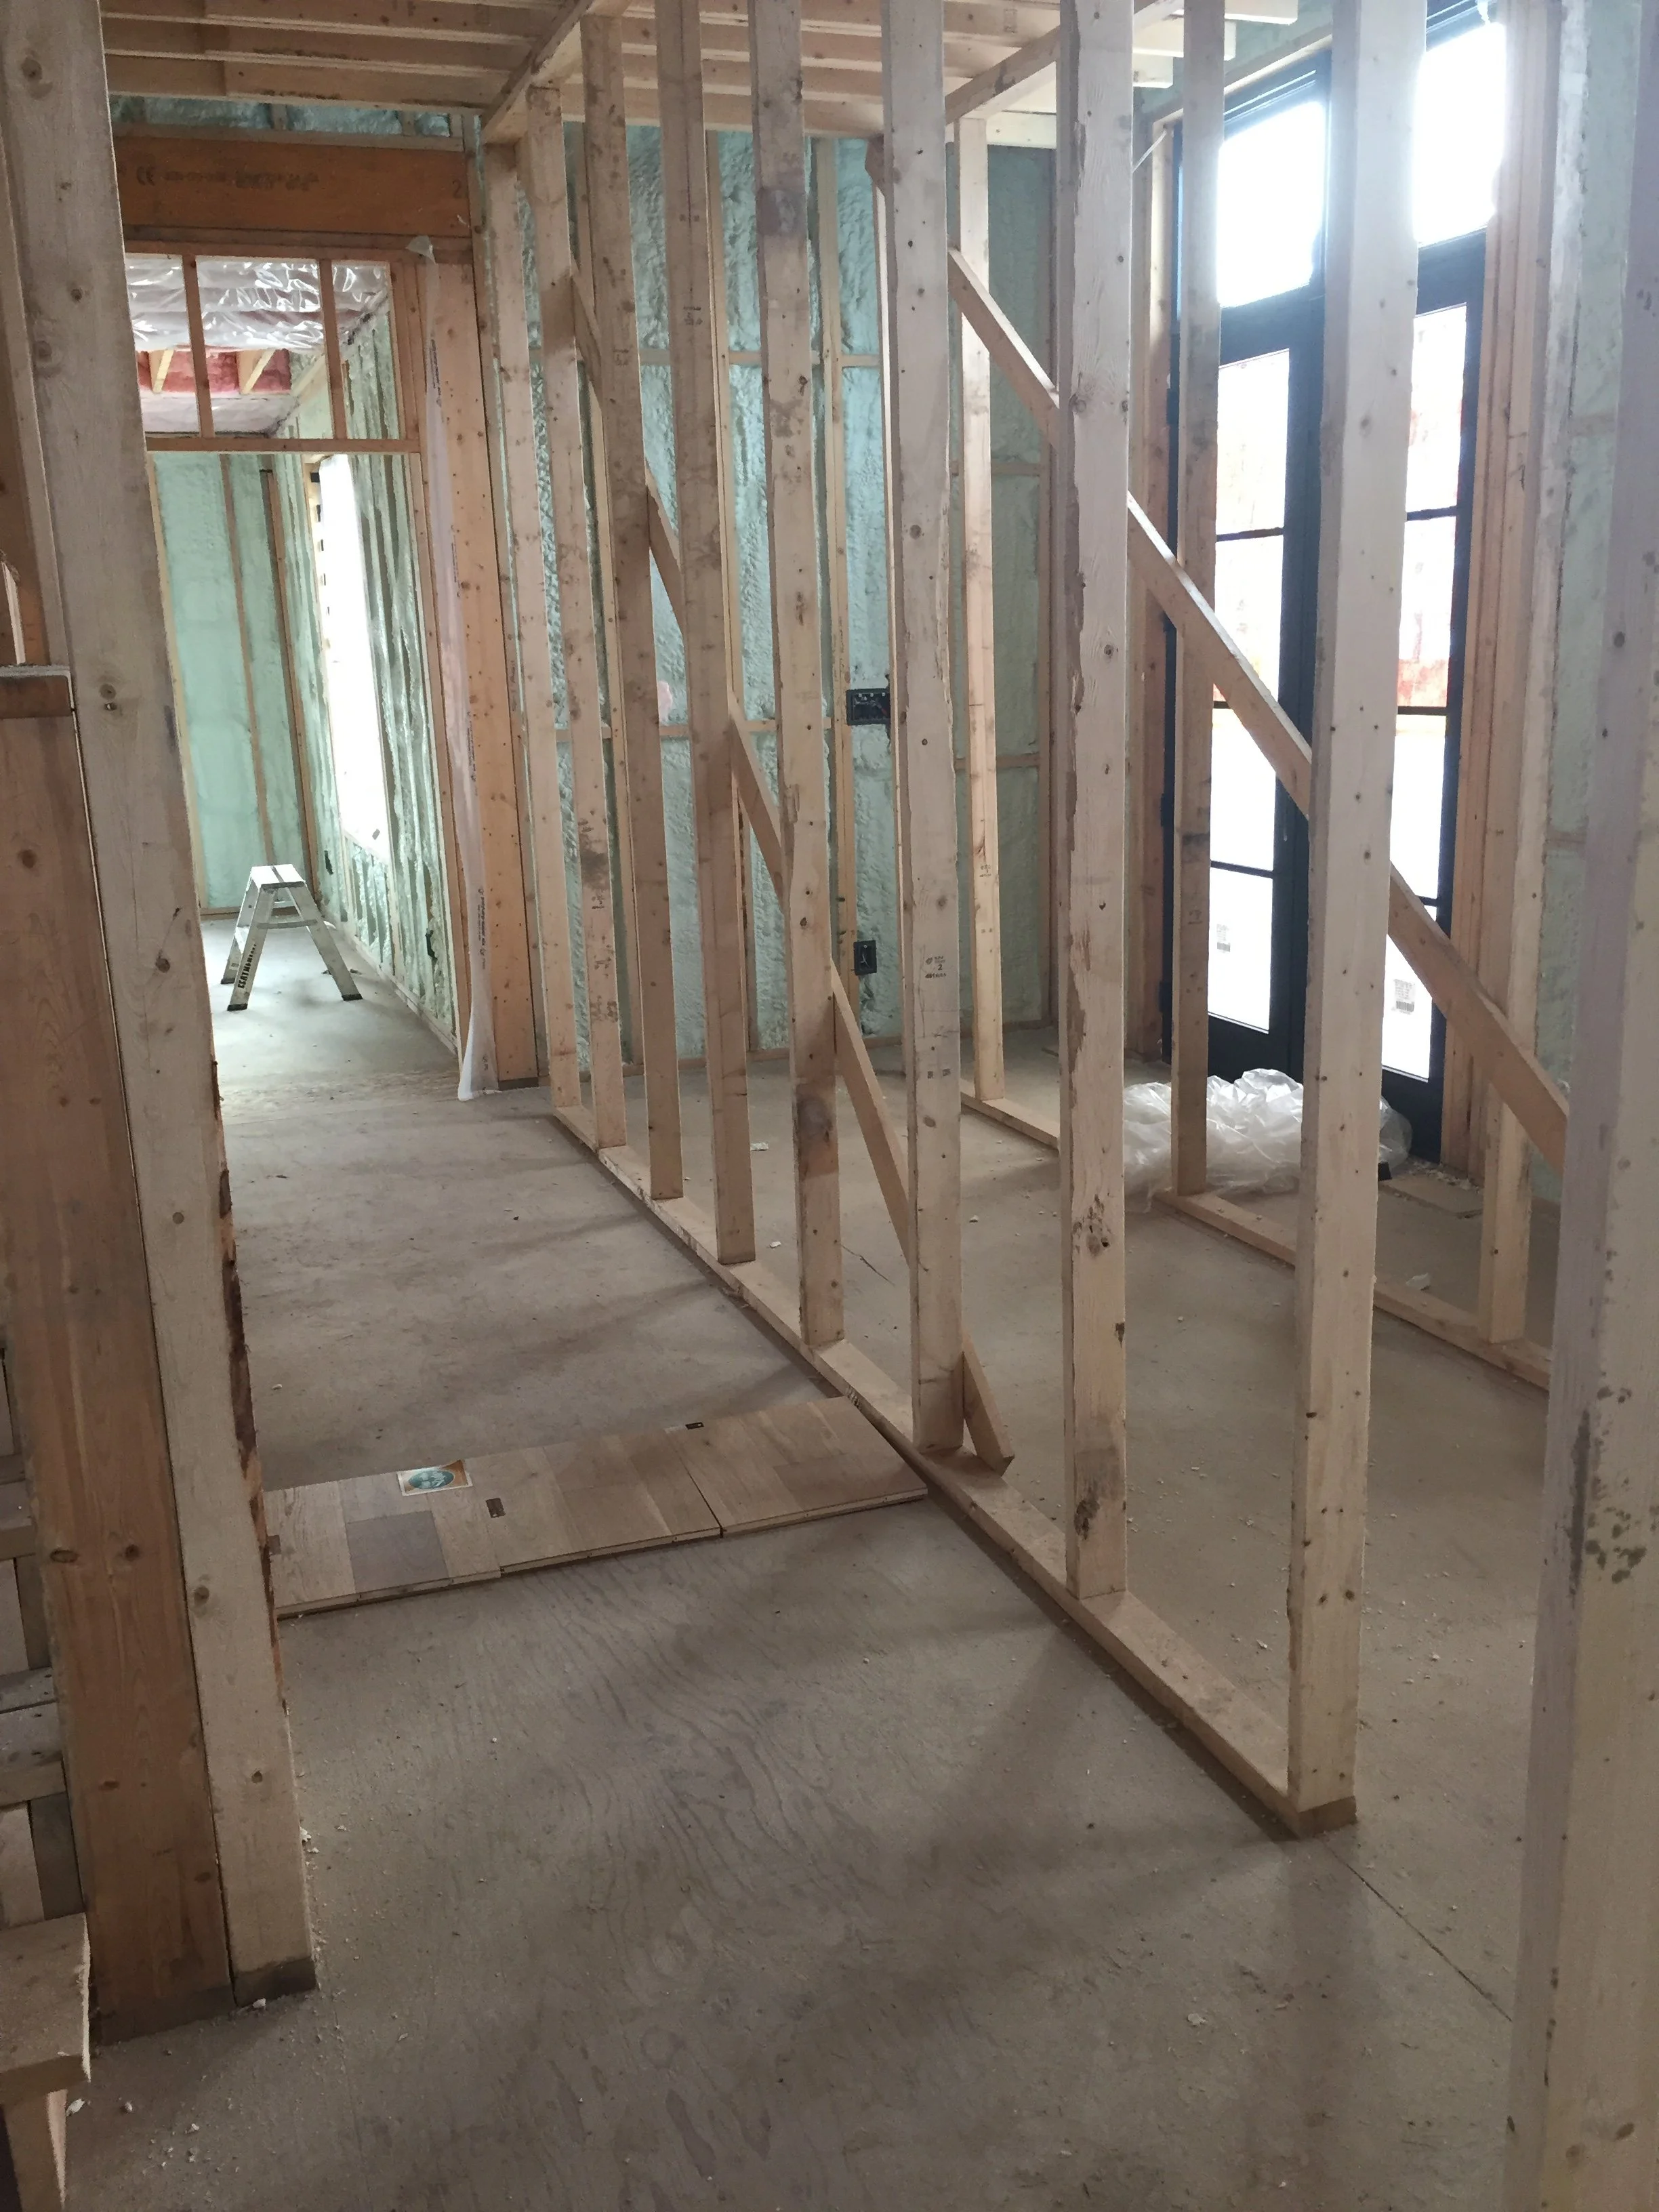
We still need to install all the floor and bathroom tile, trim and interior doors, cabinets and vanities, apply a final coat of paint plus call in the plumbers and electricians! For the exterior we still need the siding installed, backfill around the house + surrounding area, bring in gravel for the driveway/walkway and install garage doors.We're have come a long way since our framing days/last #TheGreyHouseBuild update.
We started insulating the house around Oct 17th.
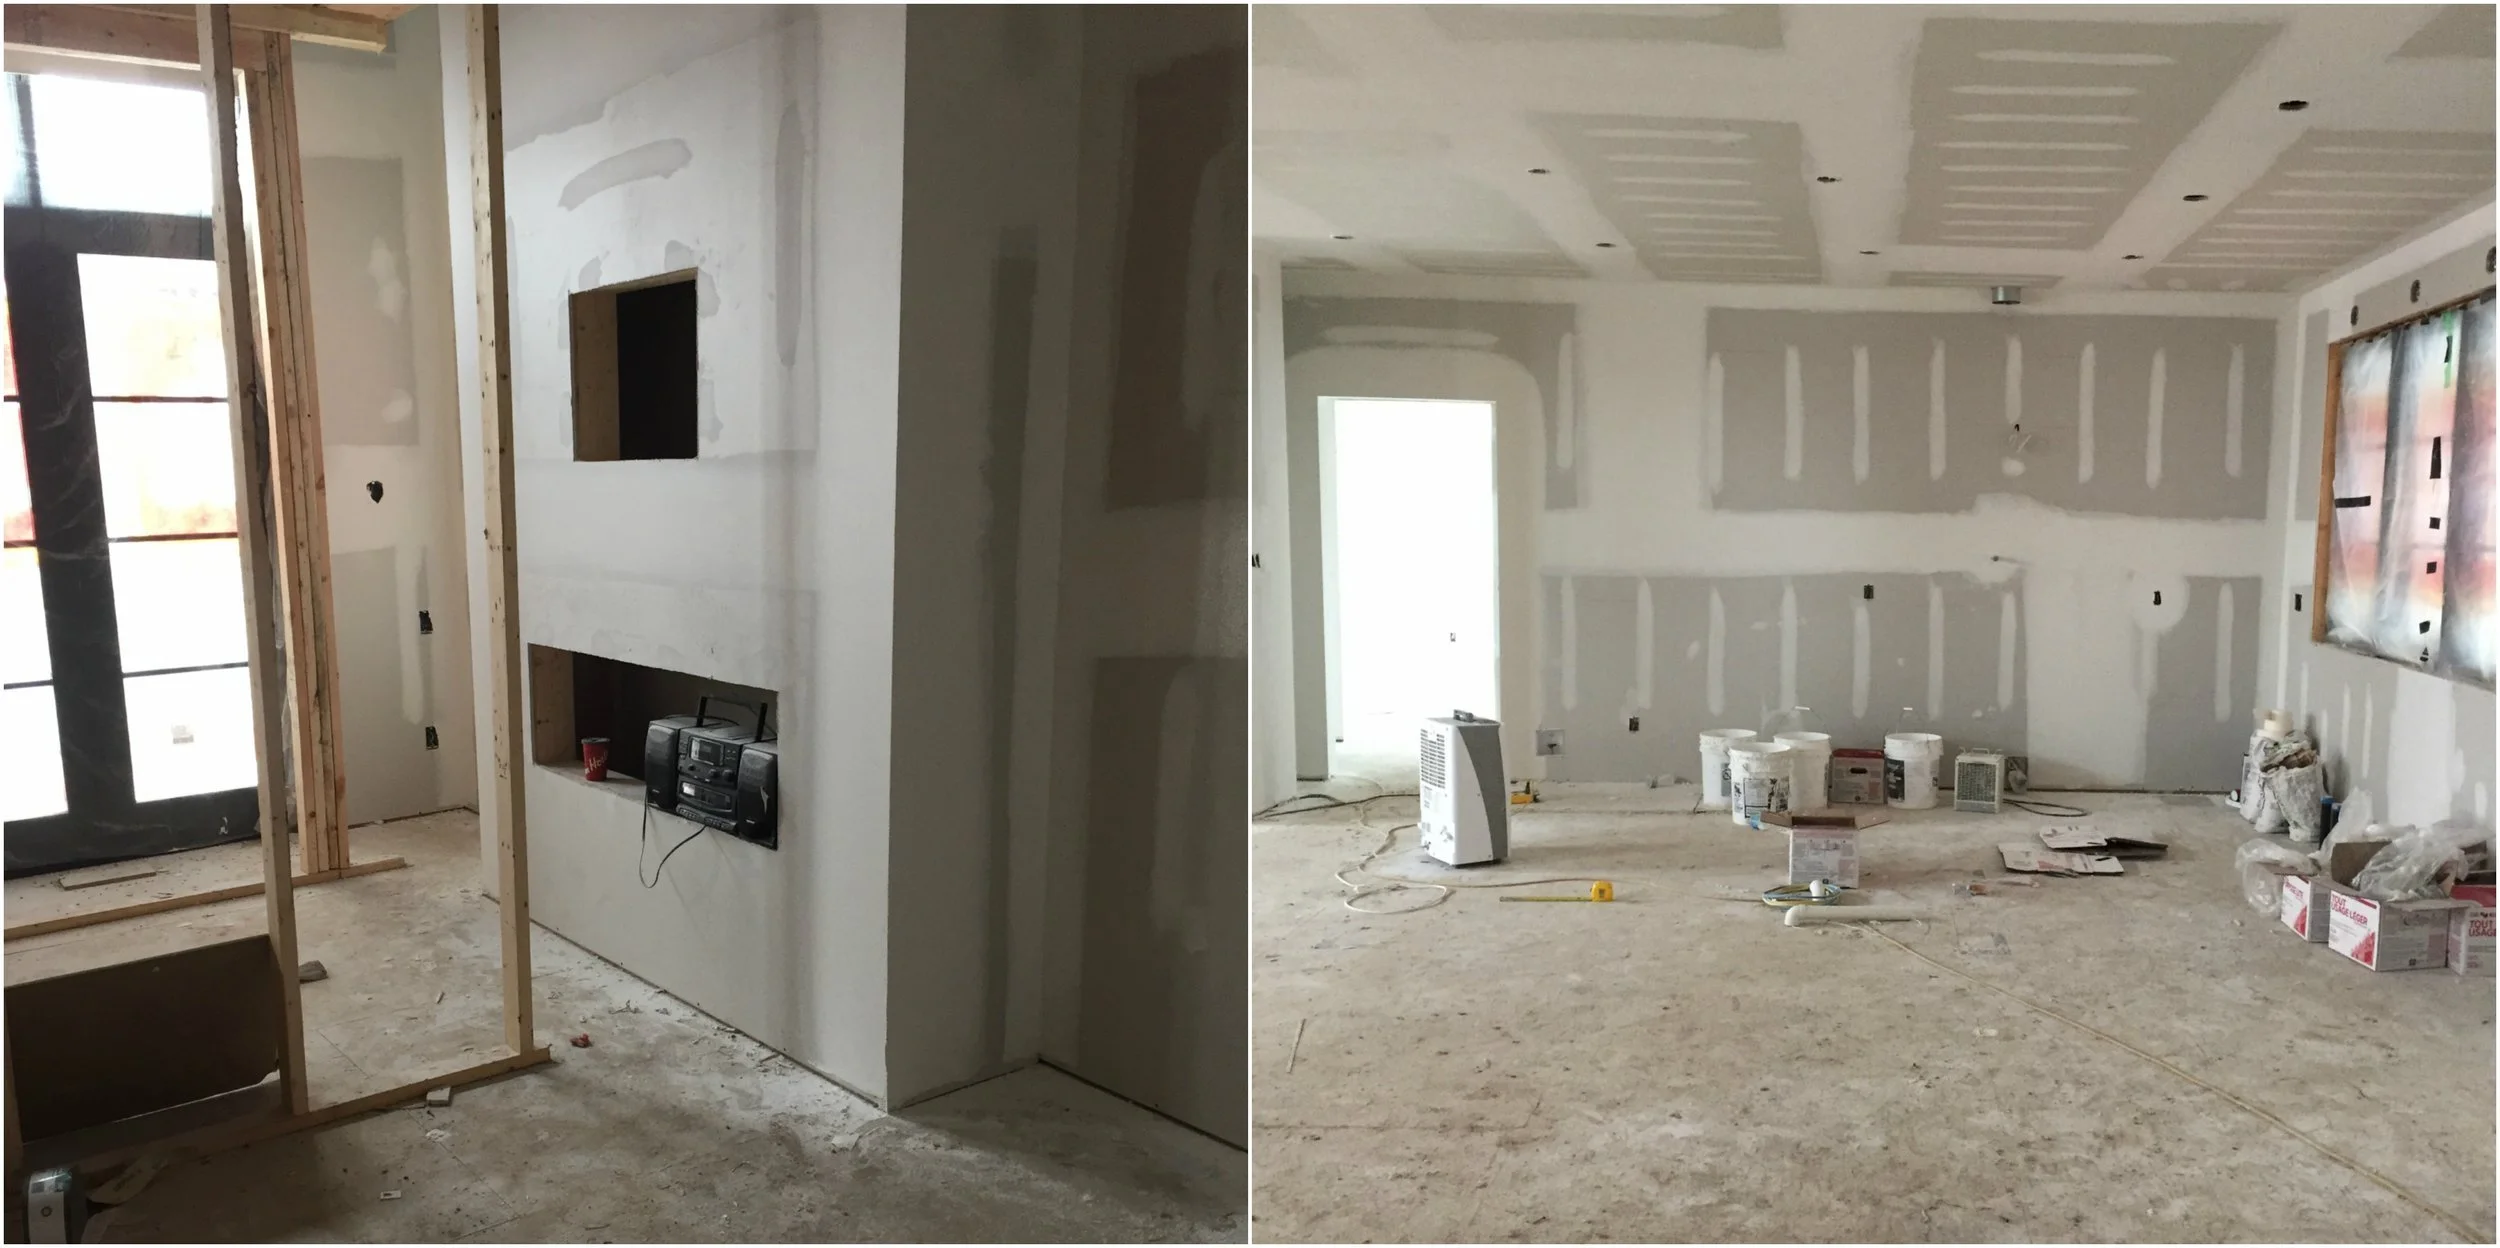
Drywalling and mudding October 24th.

This past Monday, we started installing the engineered hardwood throughout the main space and its starting to feel like a real home. Ahhhh! We are so anxious to get in but at the same time we've learned to just go with the flow and when the house is ready, we'll be ready to live in it :)
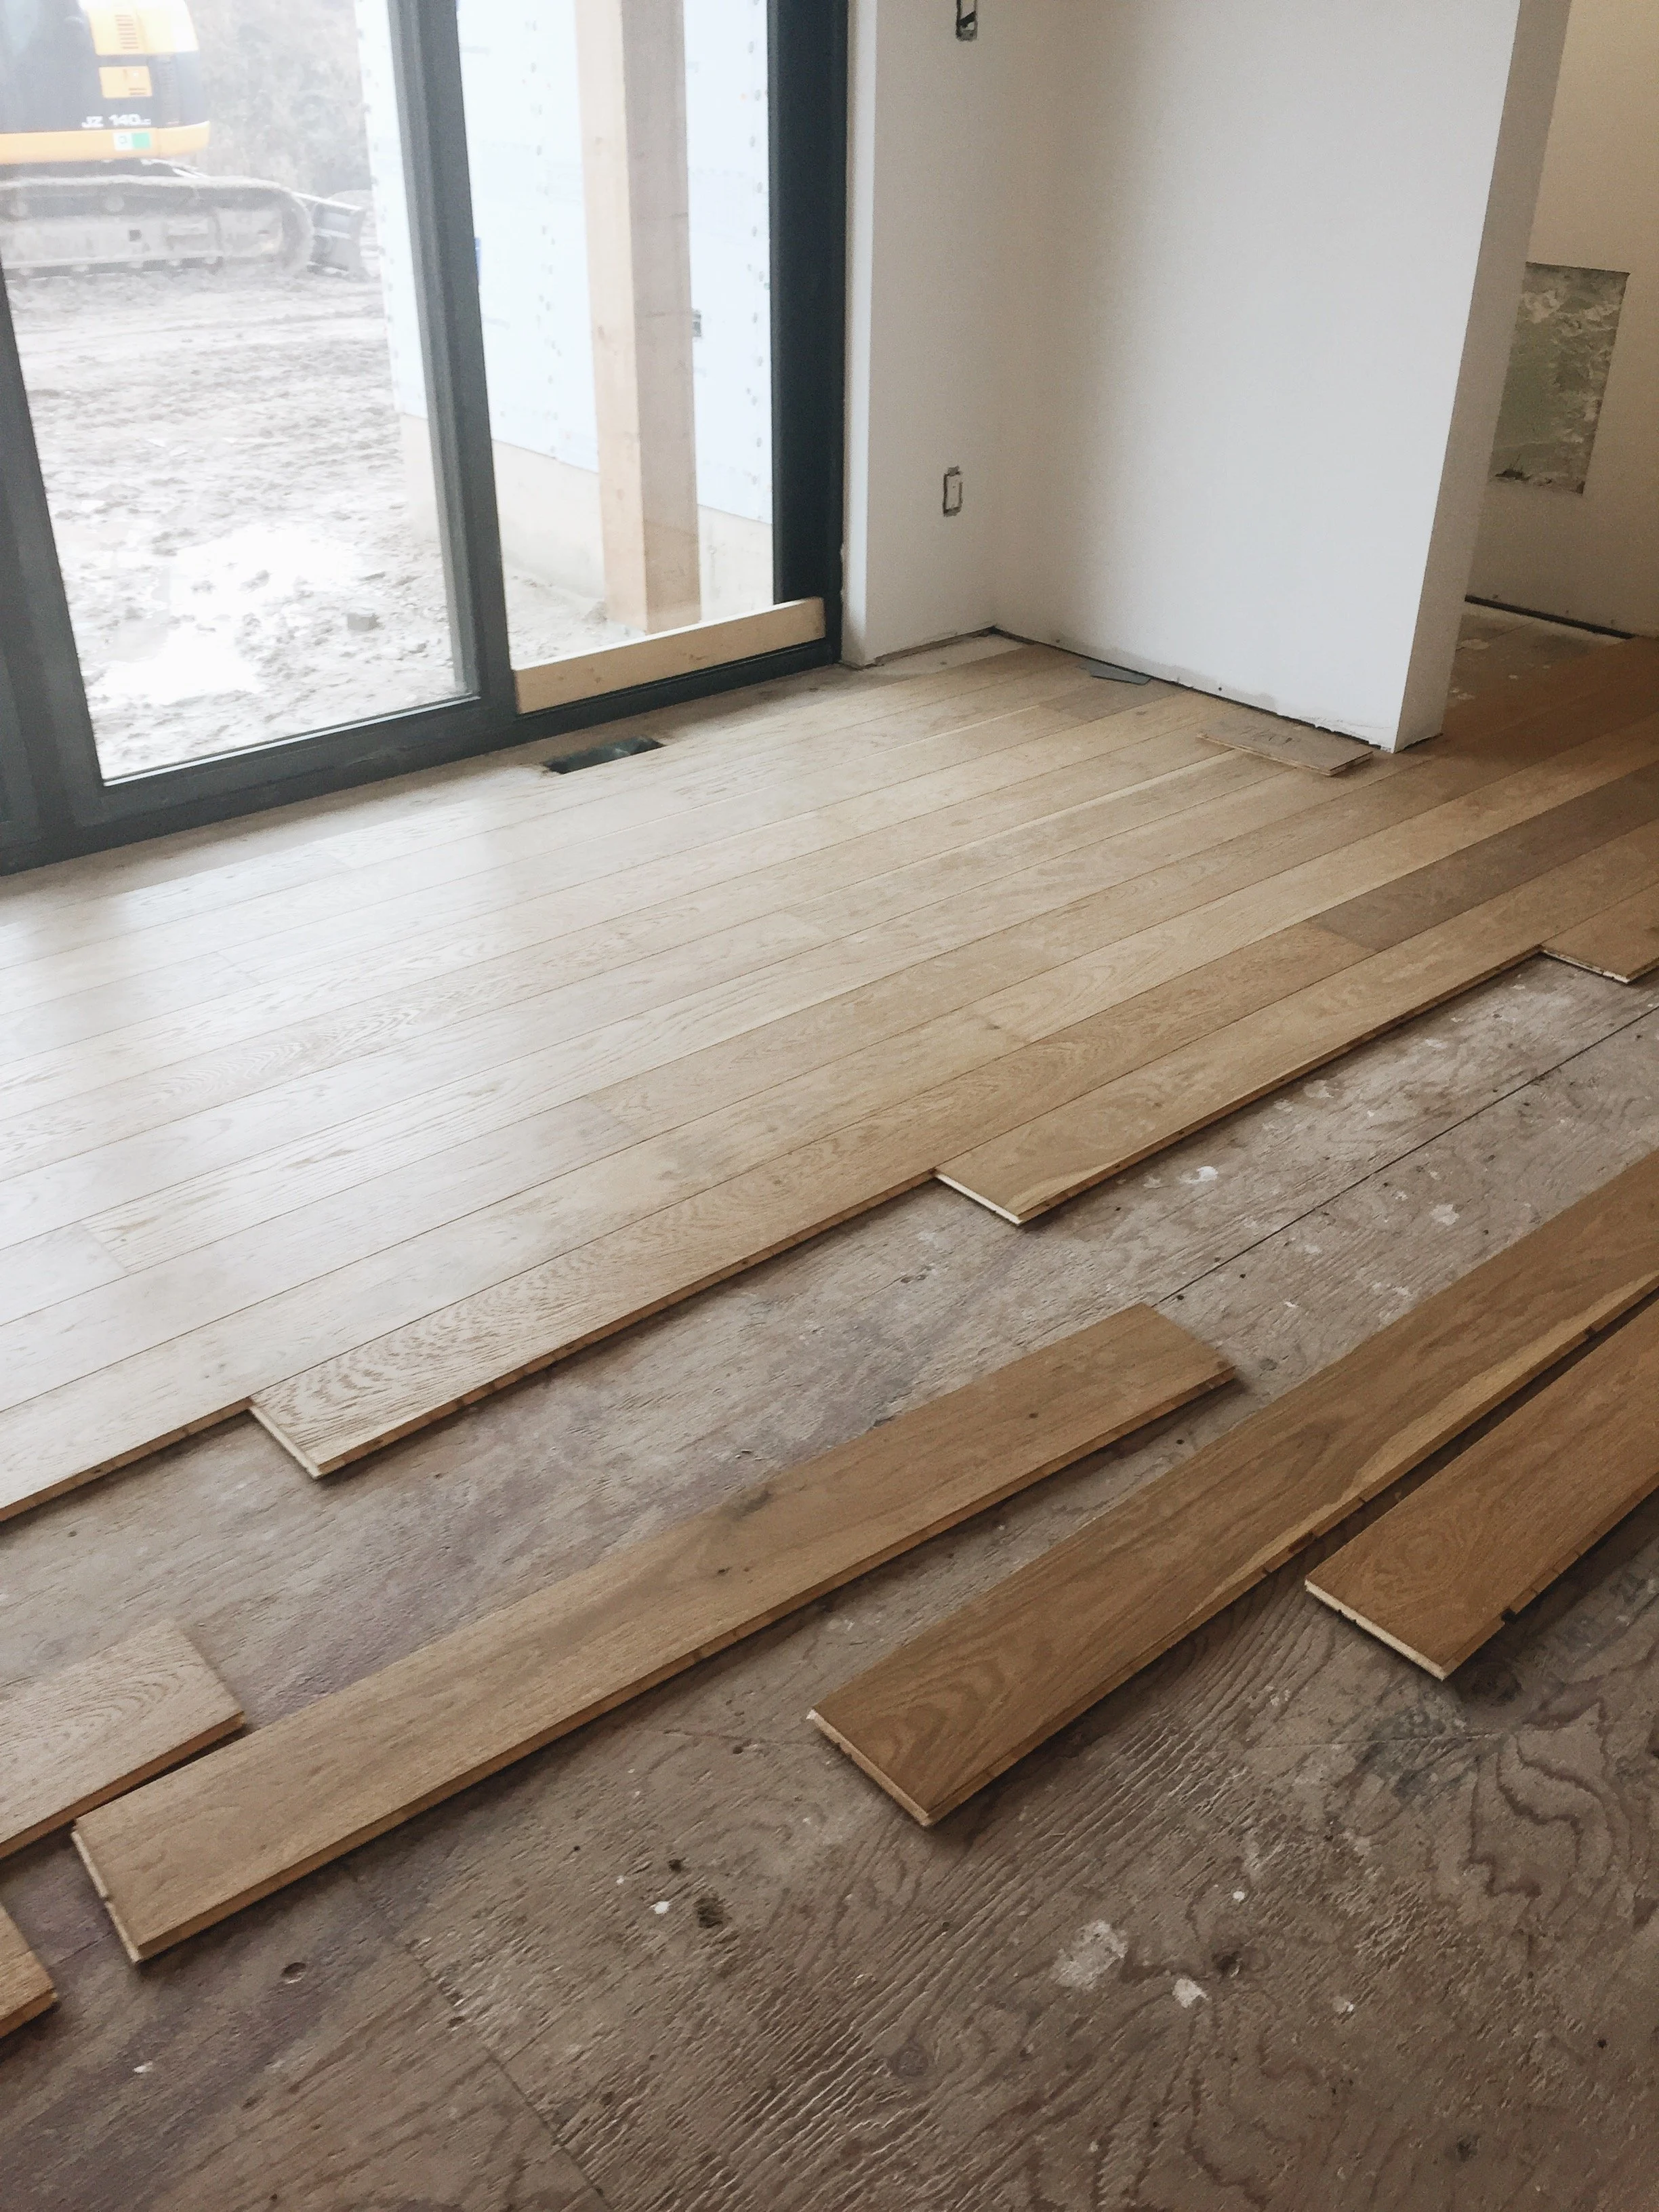
The Hardwood is from Carere Flooring in Listowel and we went with Kraus, Natural Topaz Oak.
So this is our first little unofficial house tour now that spaces are defined. Welcome :)
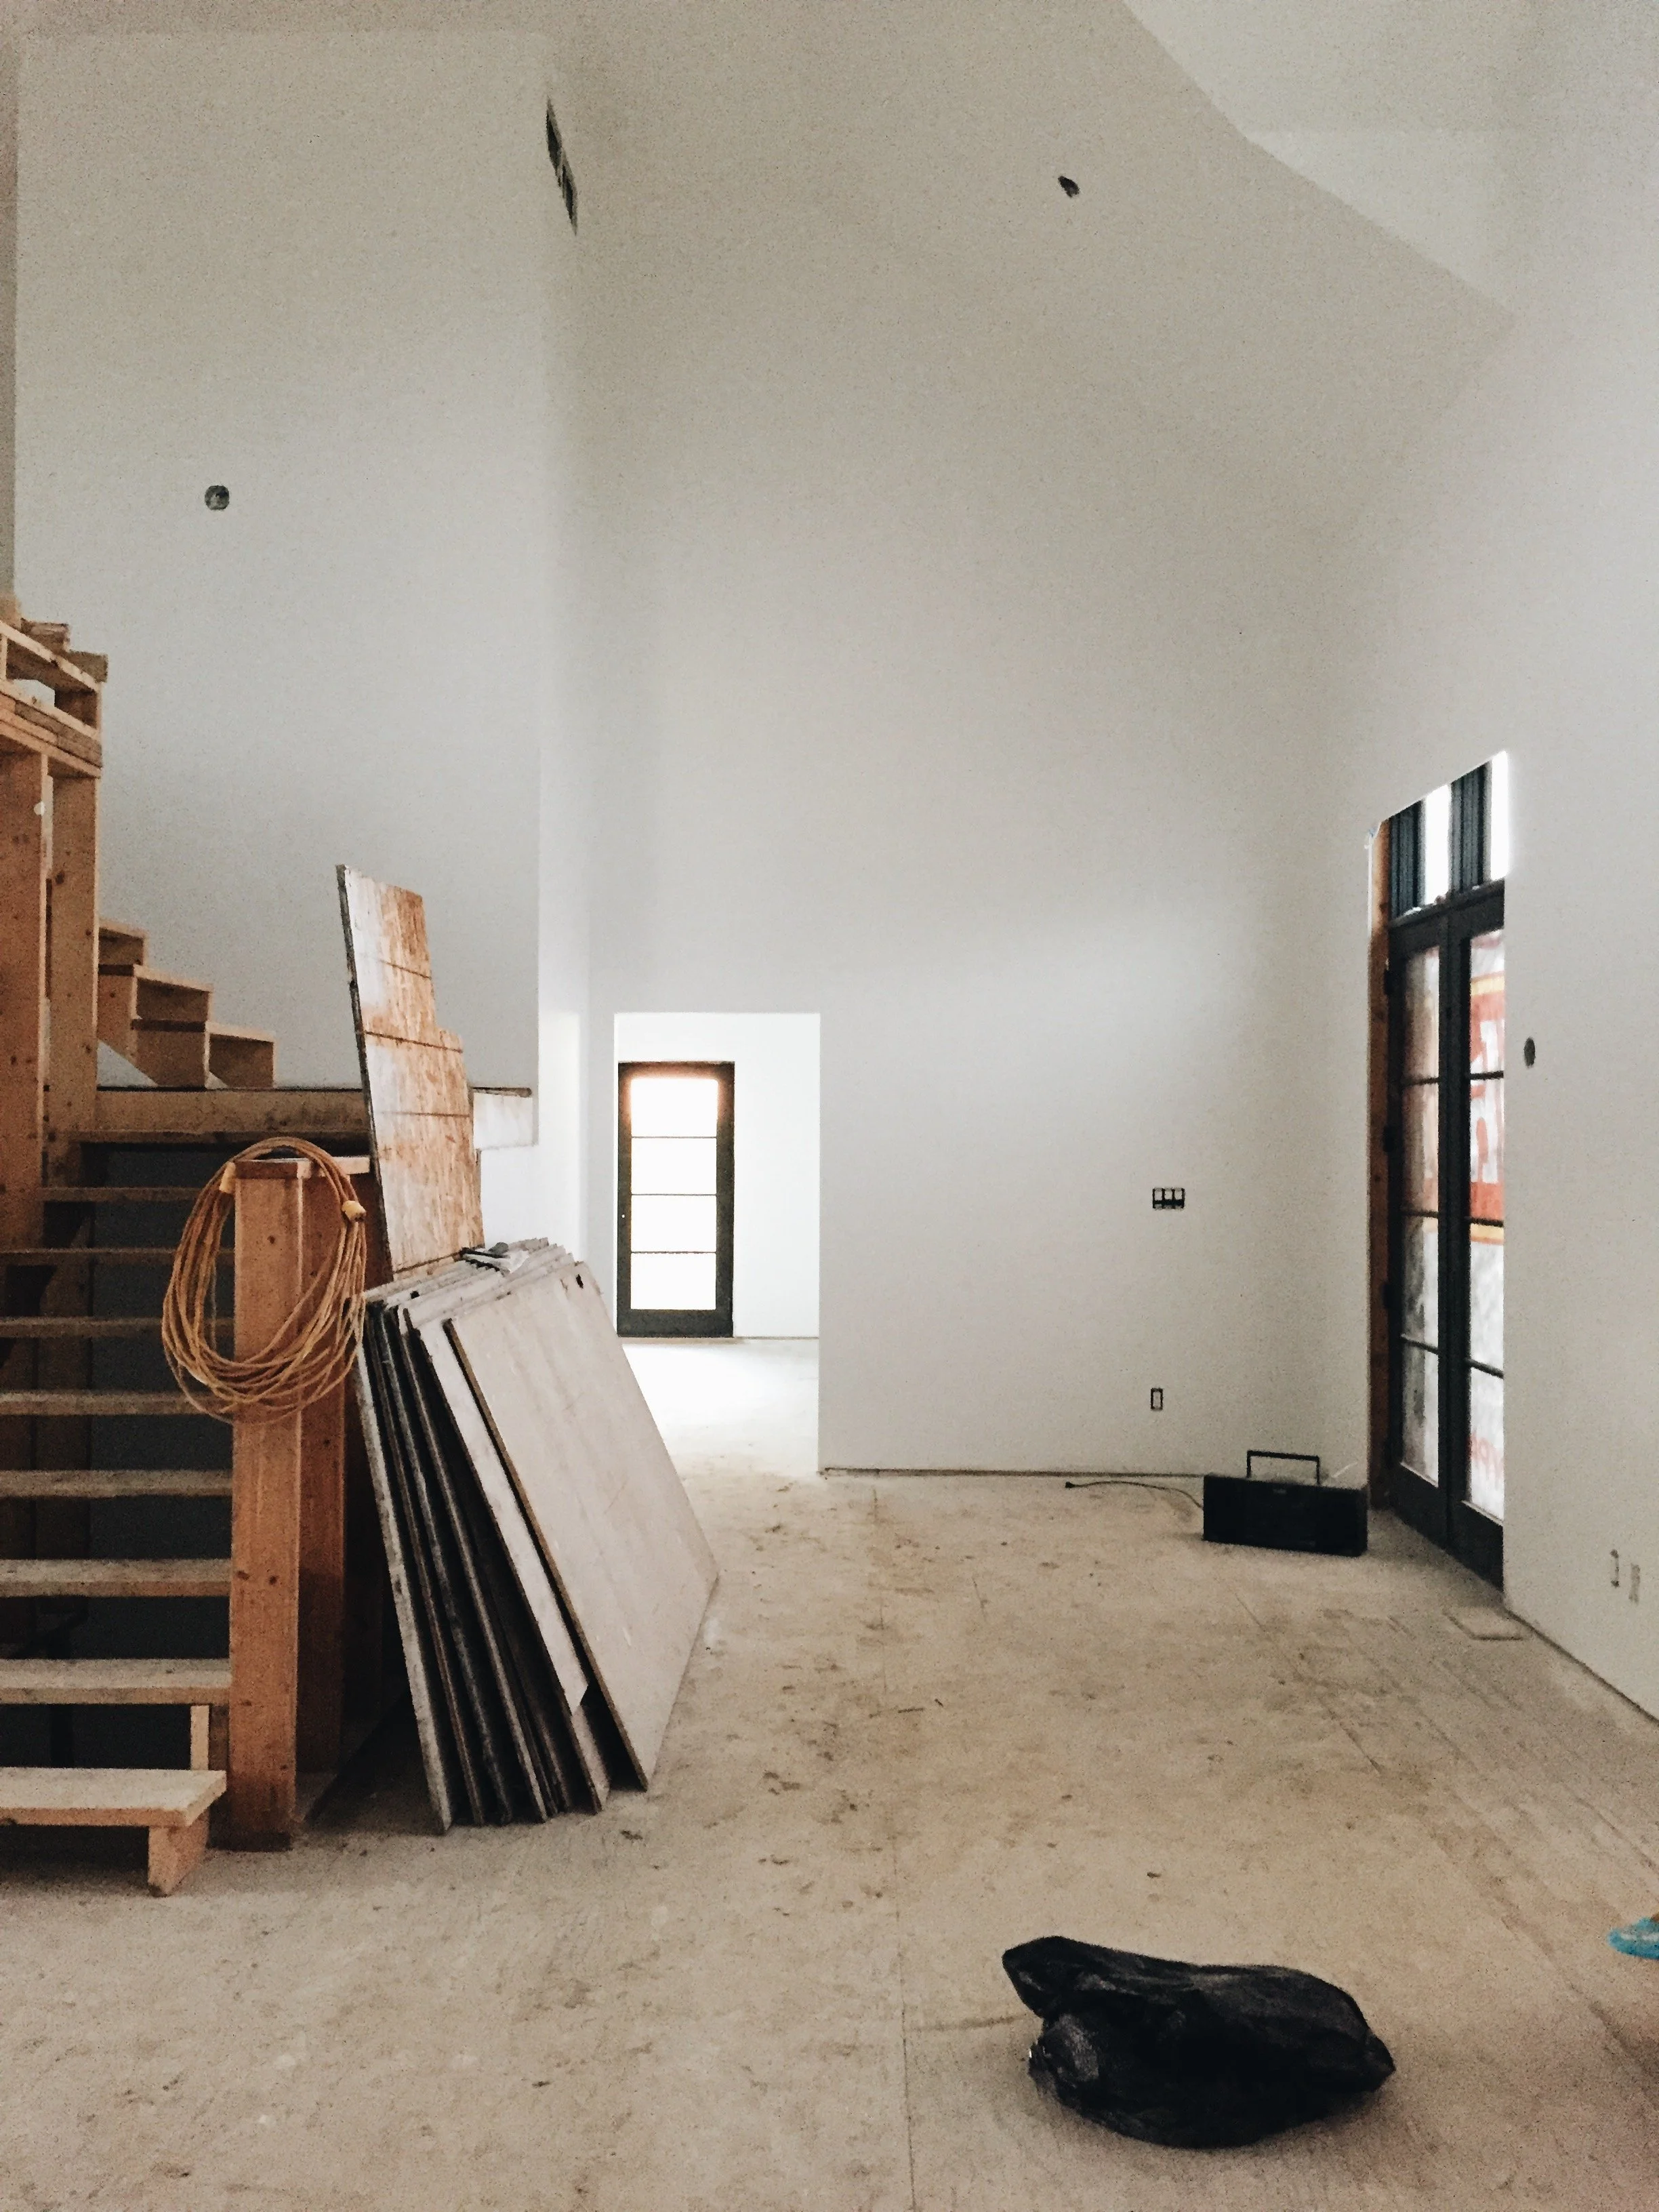
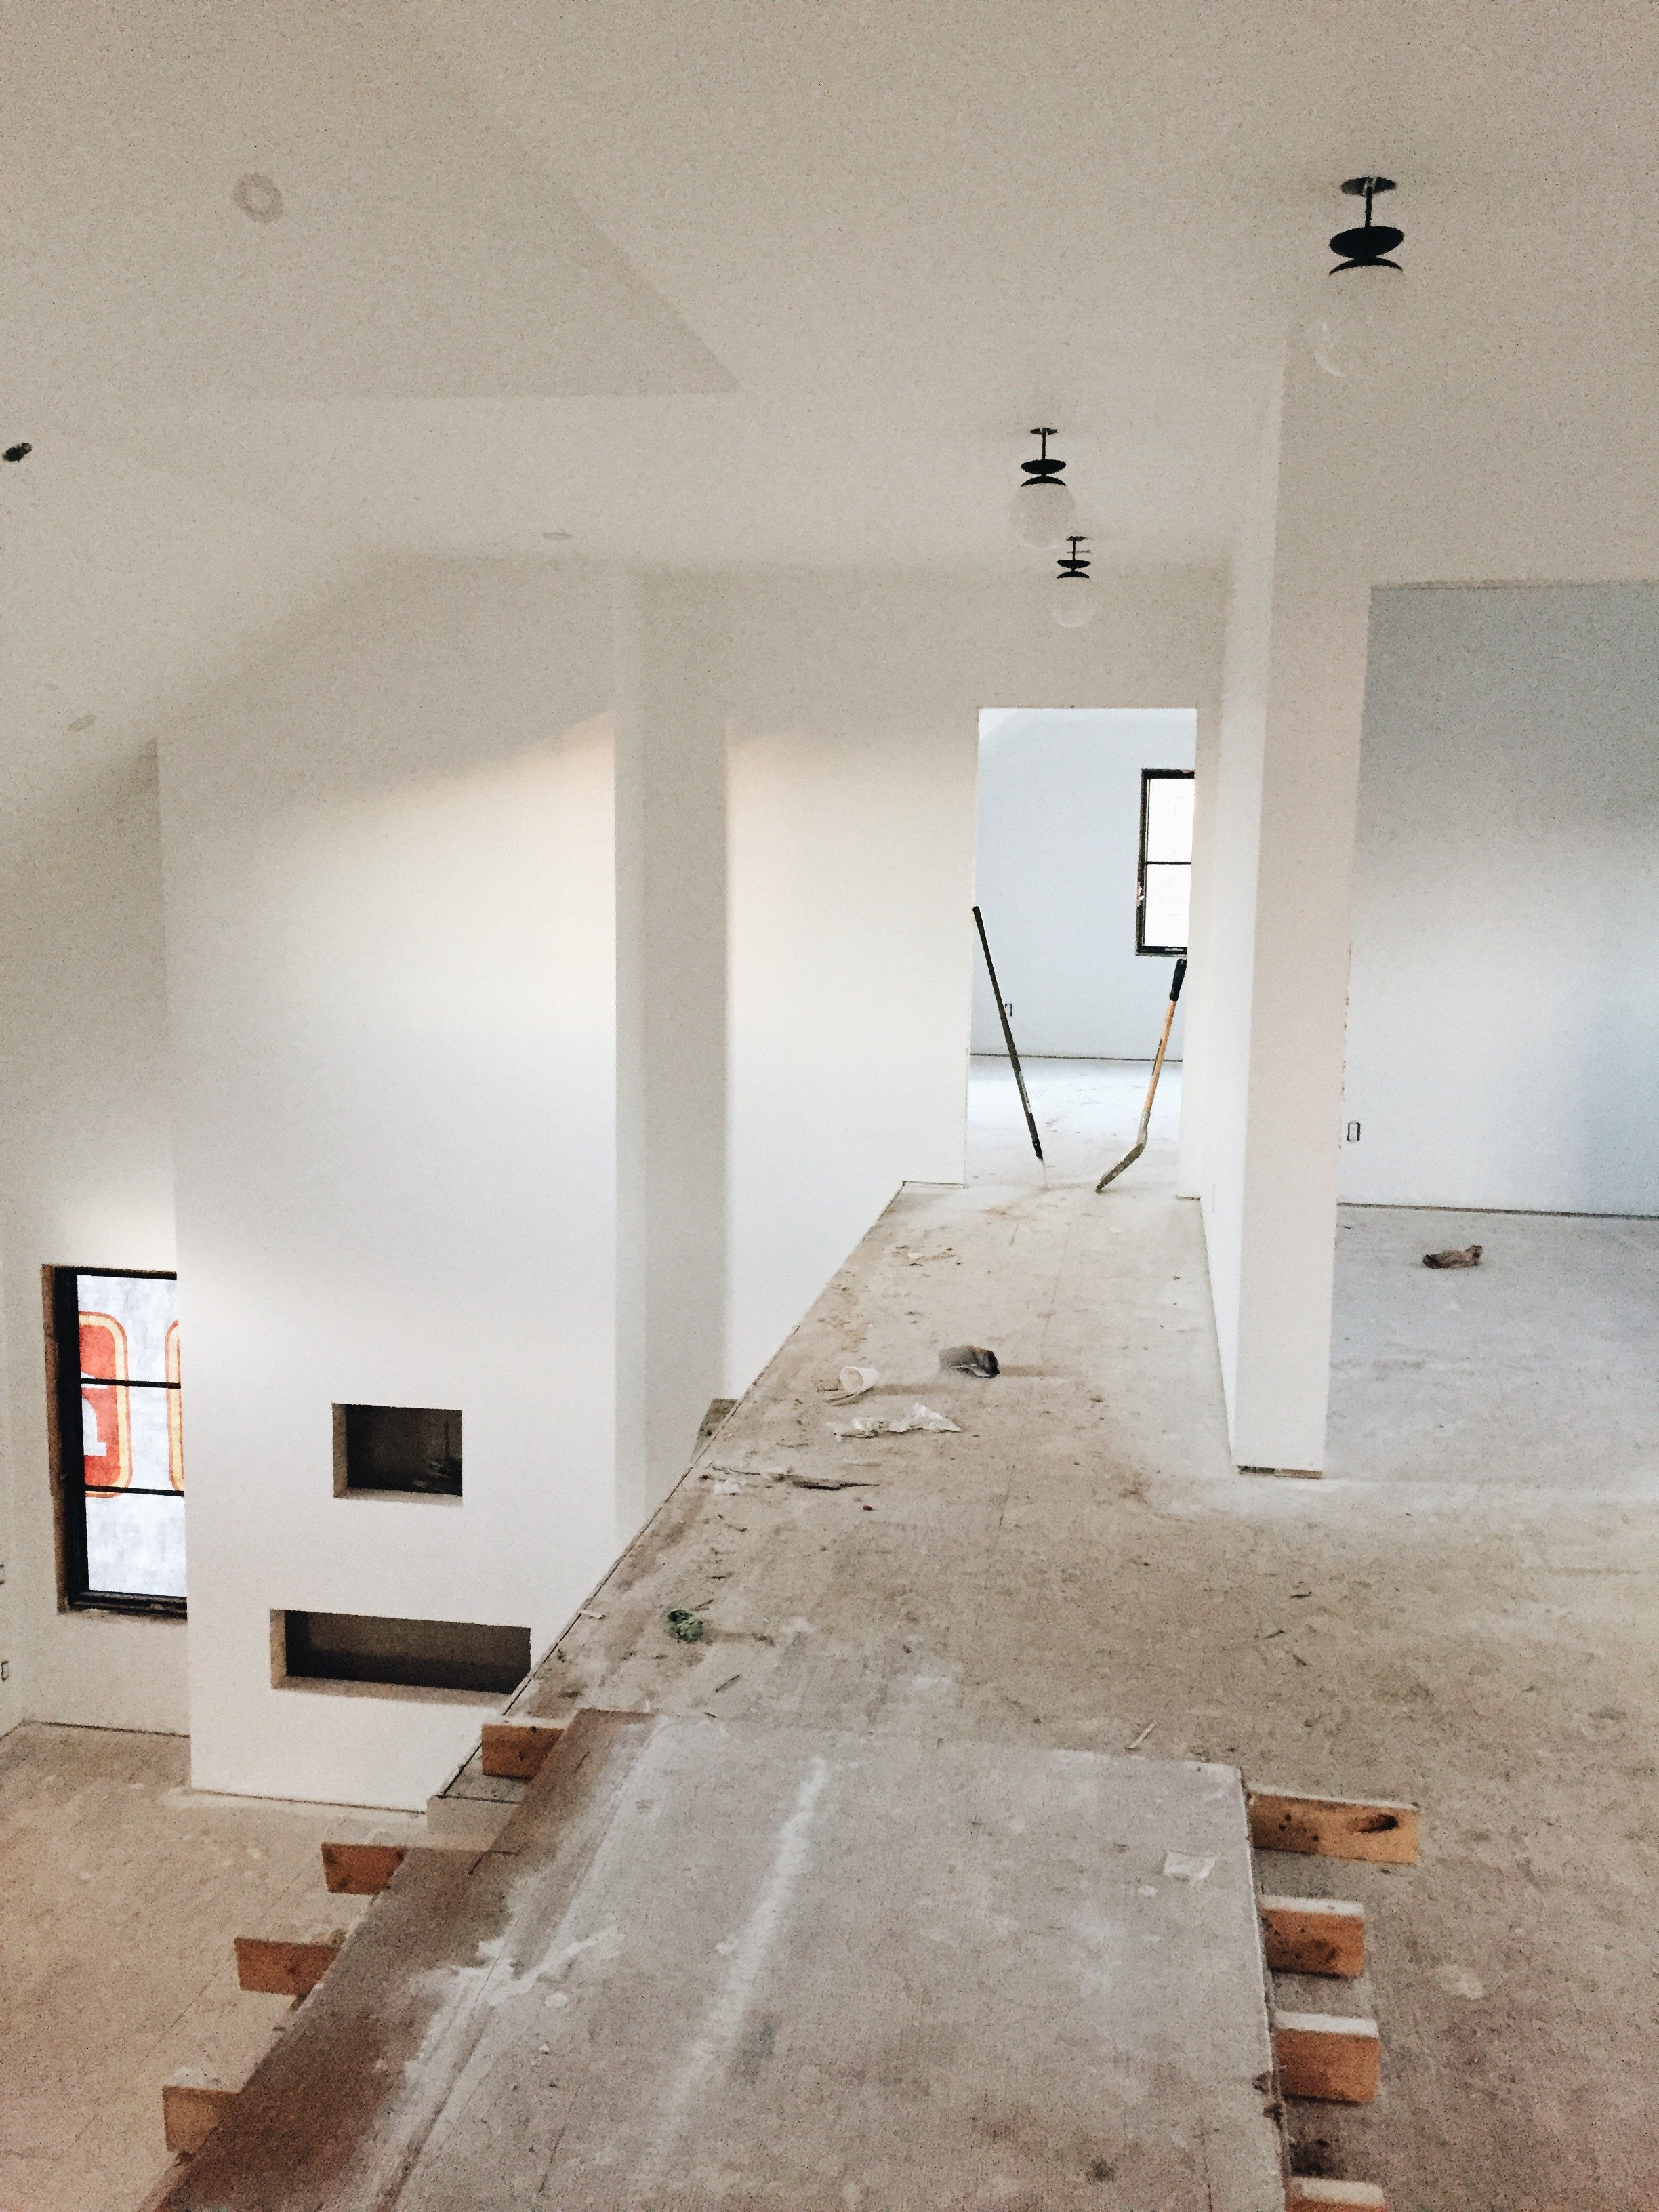
This is the vaulted ceiling in the living room, looking into the laundry/mudroom. The front door (+ only operating door out of the three) is to the right.
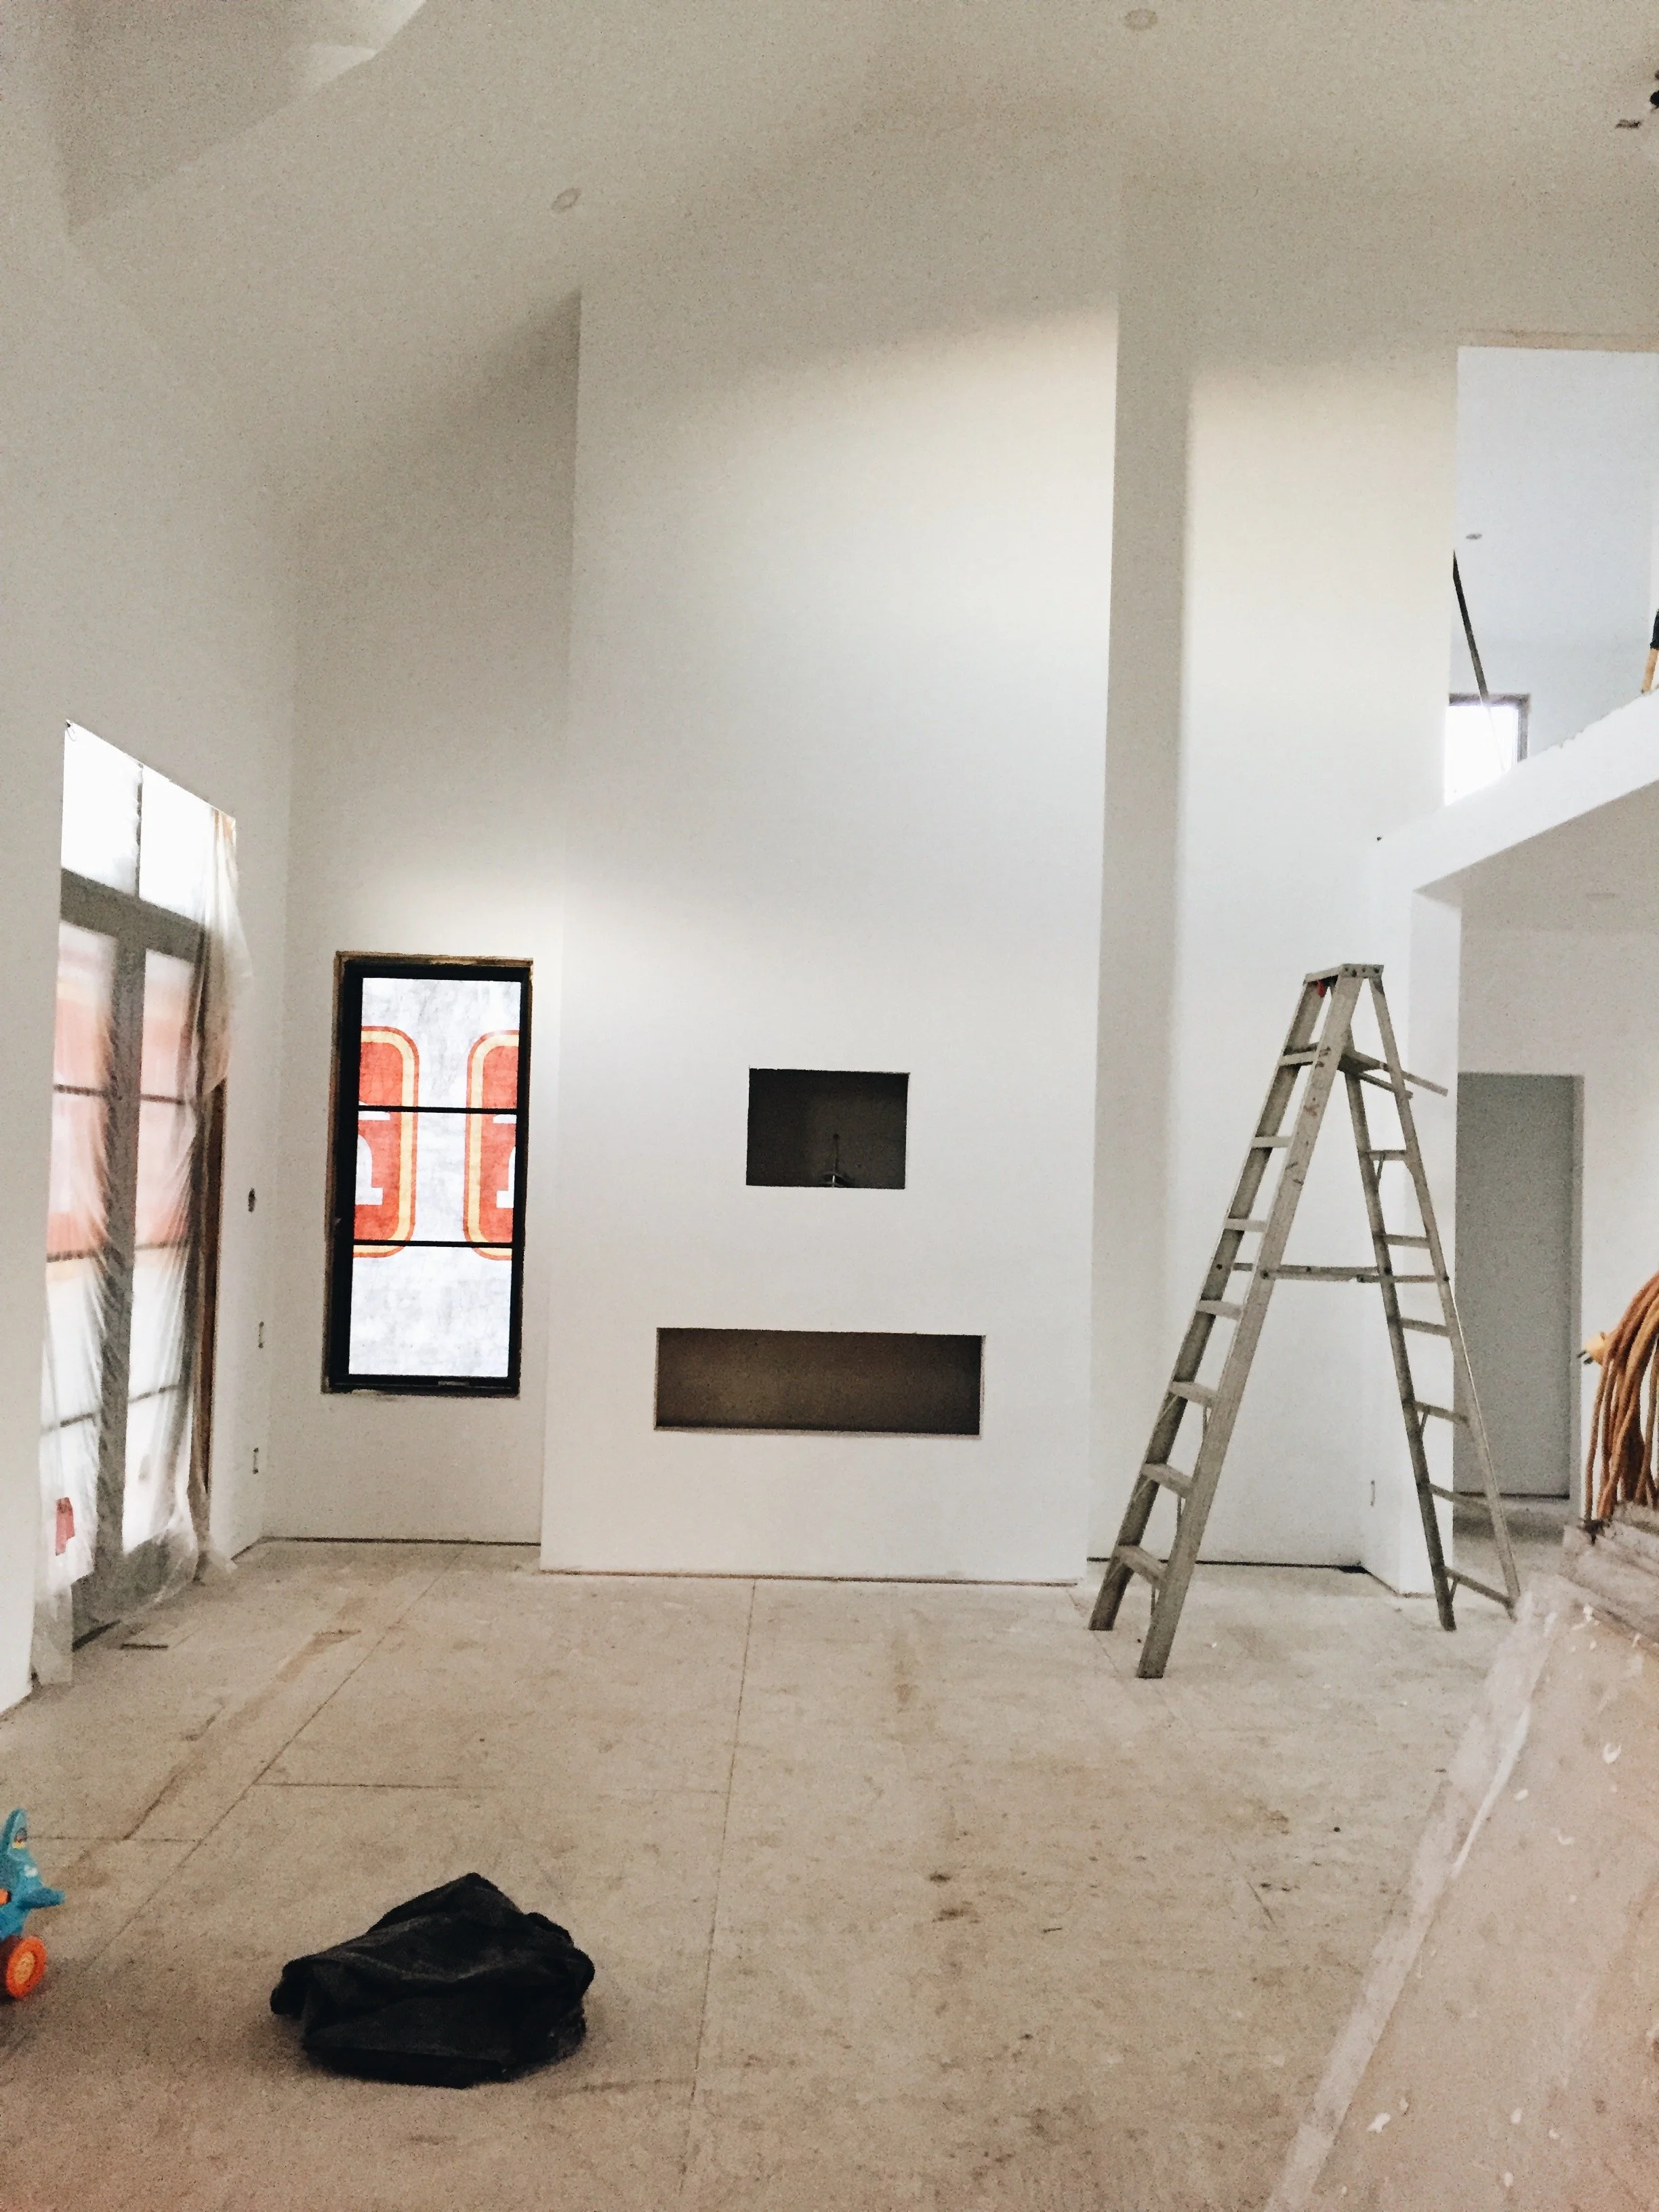
Below is the view from the opposite direction. We love our fireplace so much and the best part is that Brent's dad built it (along with the rest of the house :) )

The fireplace gives such a grand welcoming! A while ago, when we thought about painting it black, but I love how the white simplifies the area. Just wait until Woodland Horizon's shelving goes in!! Above, to the right of the fireplace is the kitchen and dining room area. One of our favourite things about the kitchen is that the sink is overlooking the backyard and the patio doors open the kitchen area up to the outdoors! Also, I think the boys don't mind that view current ;)
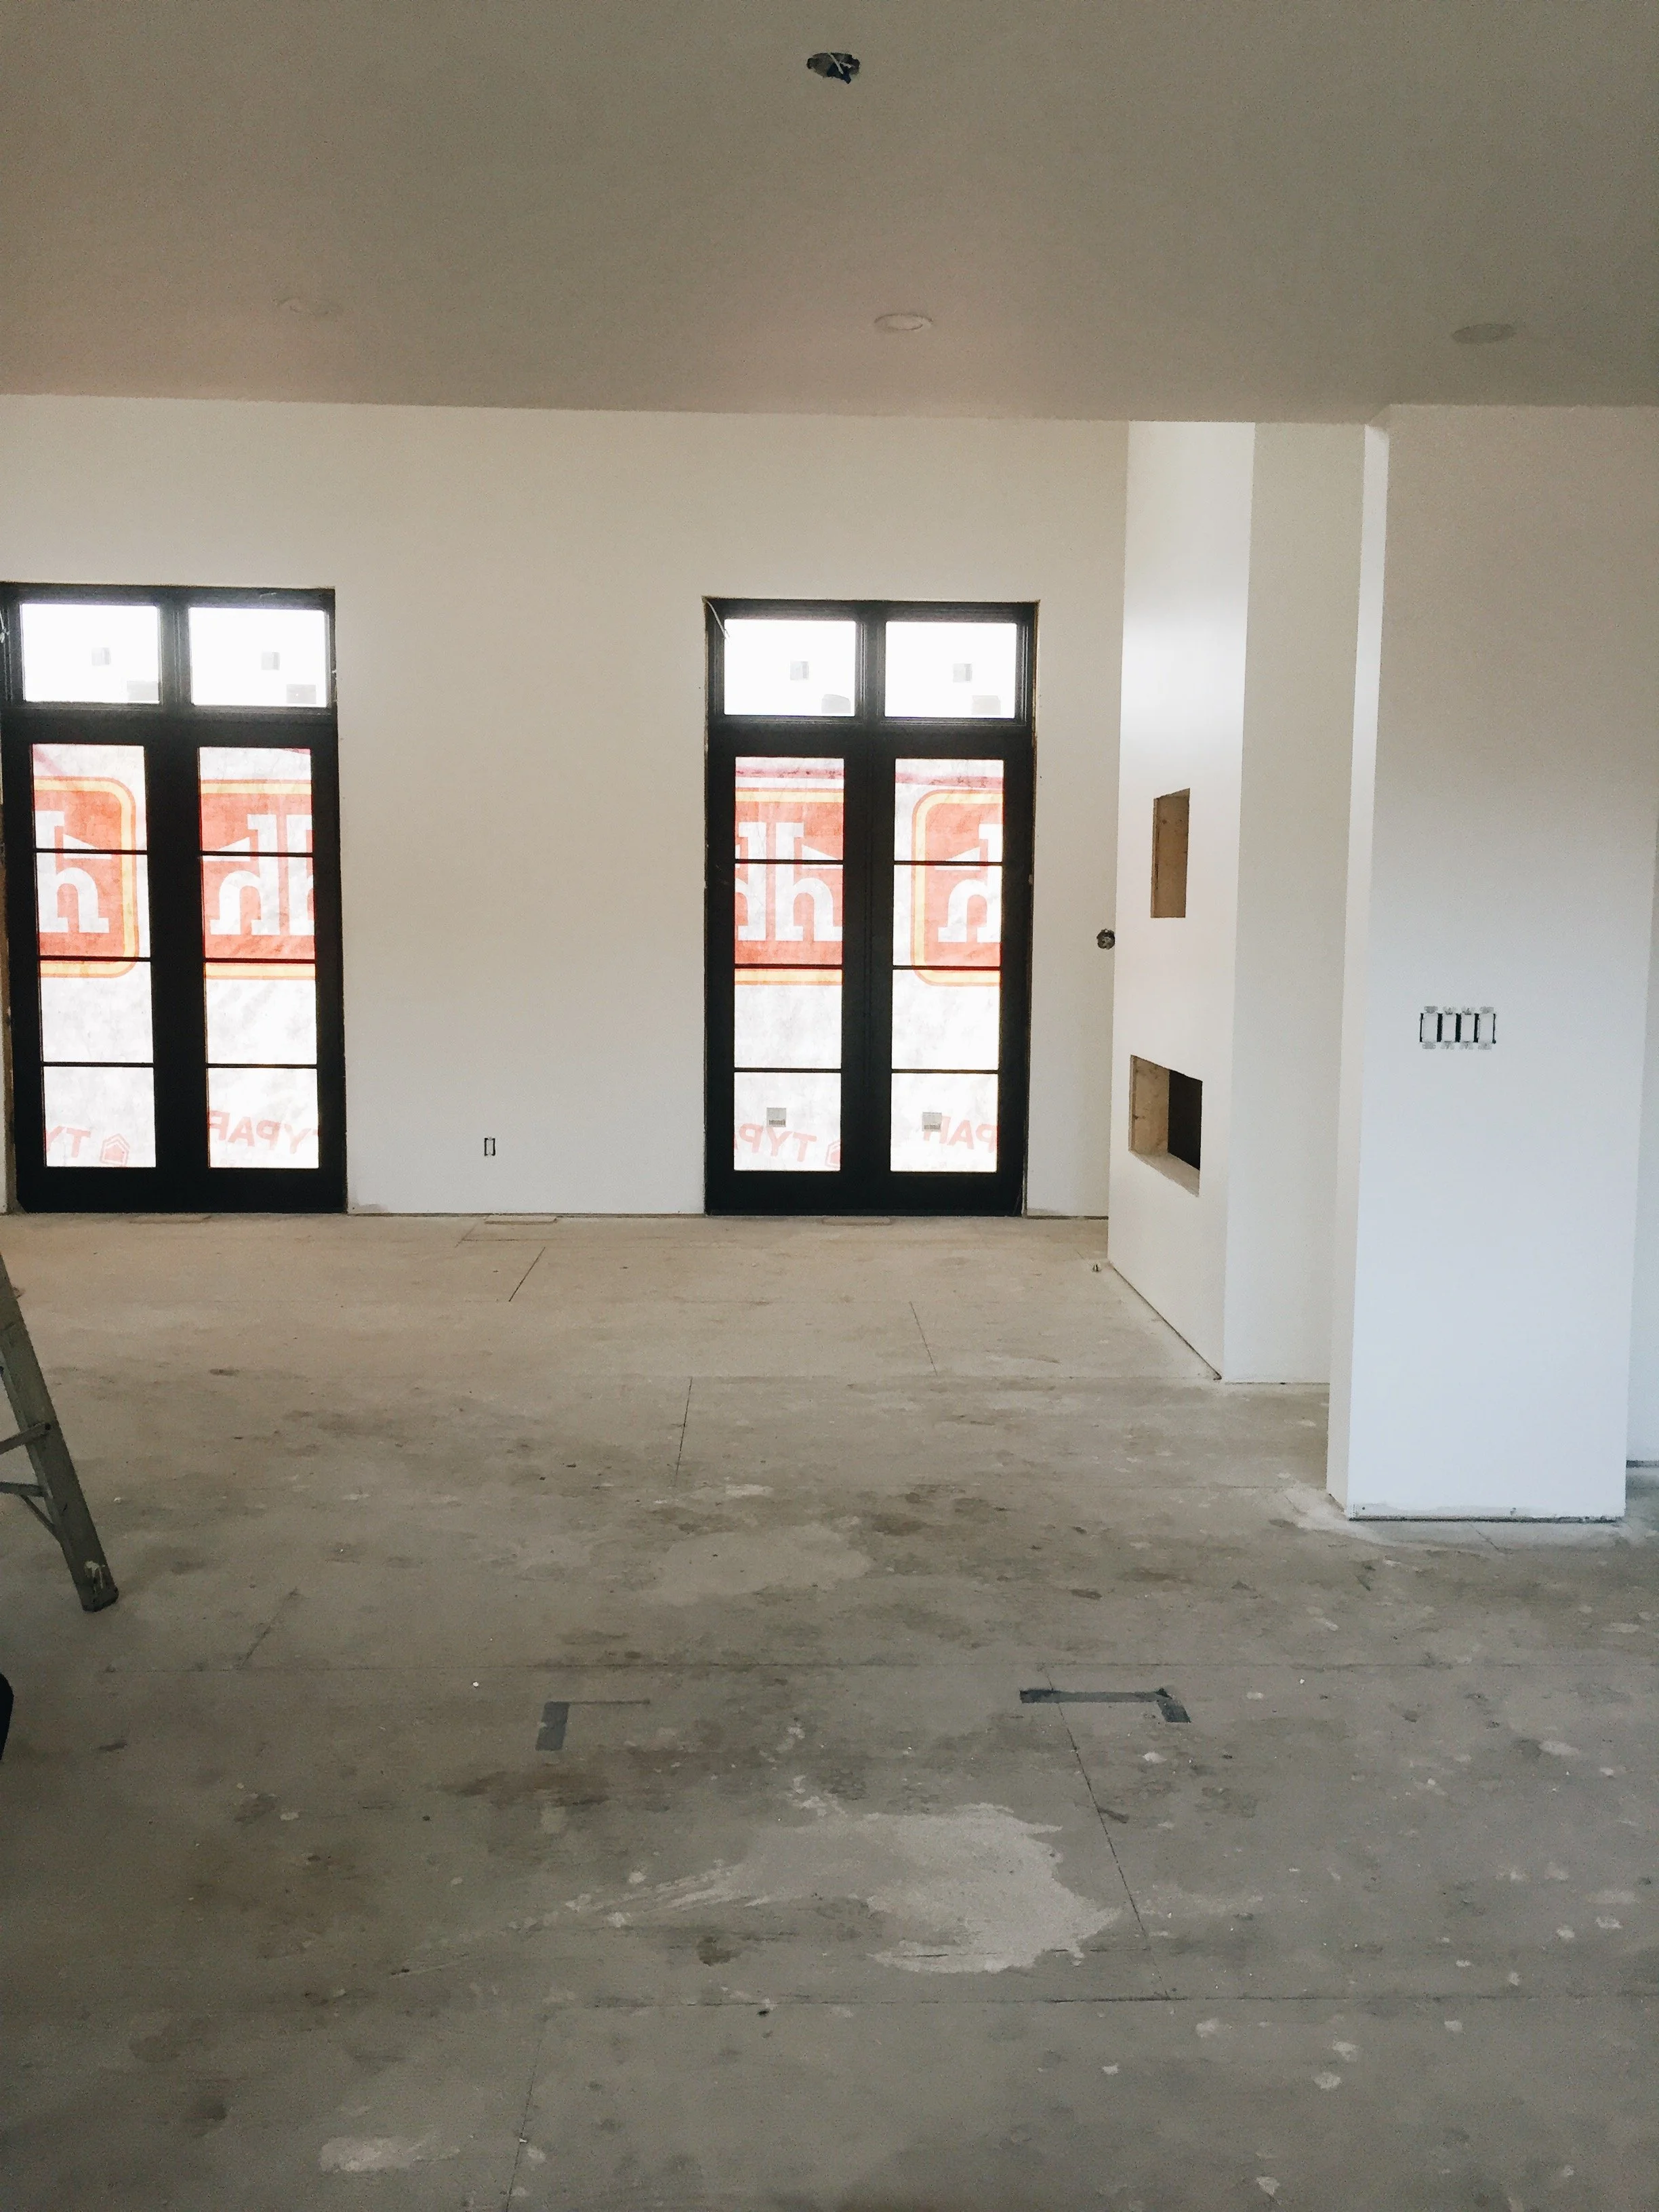
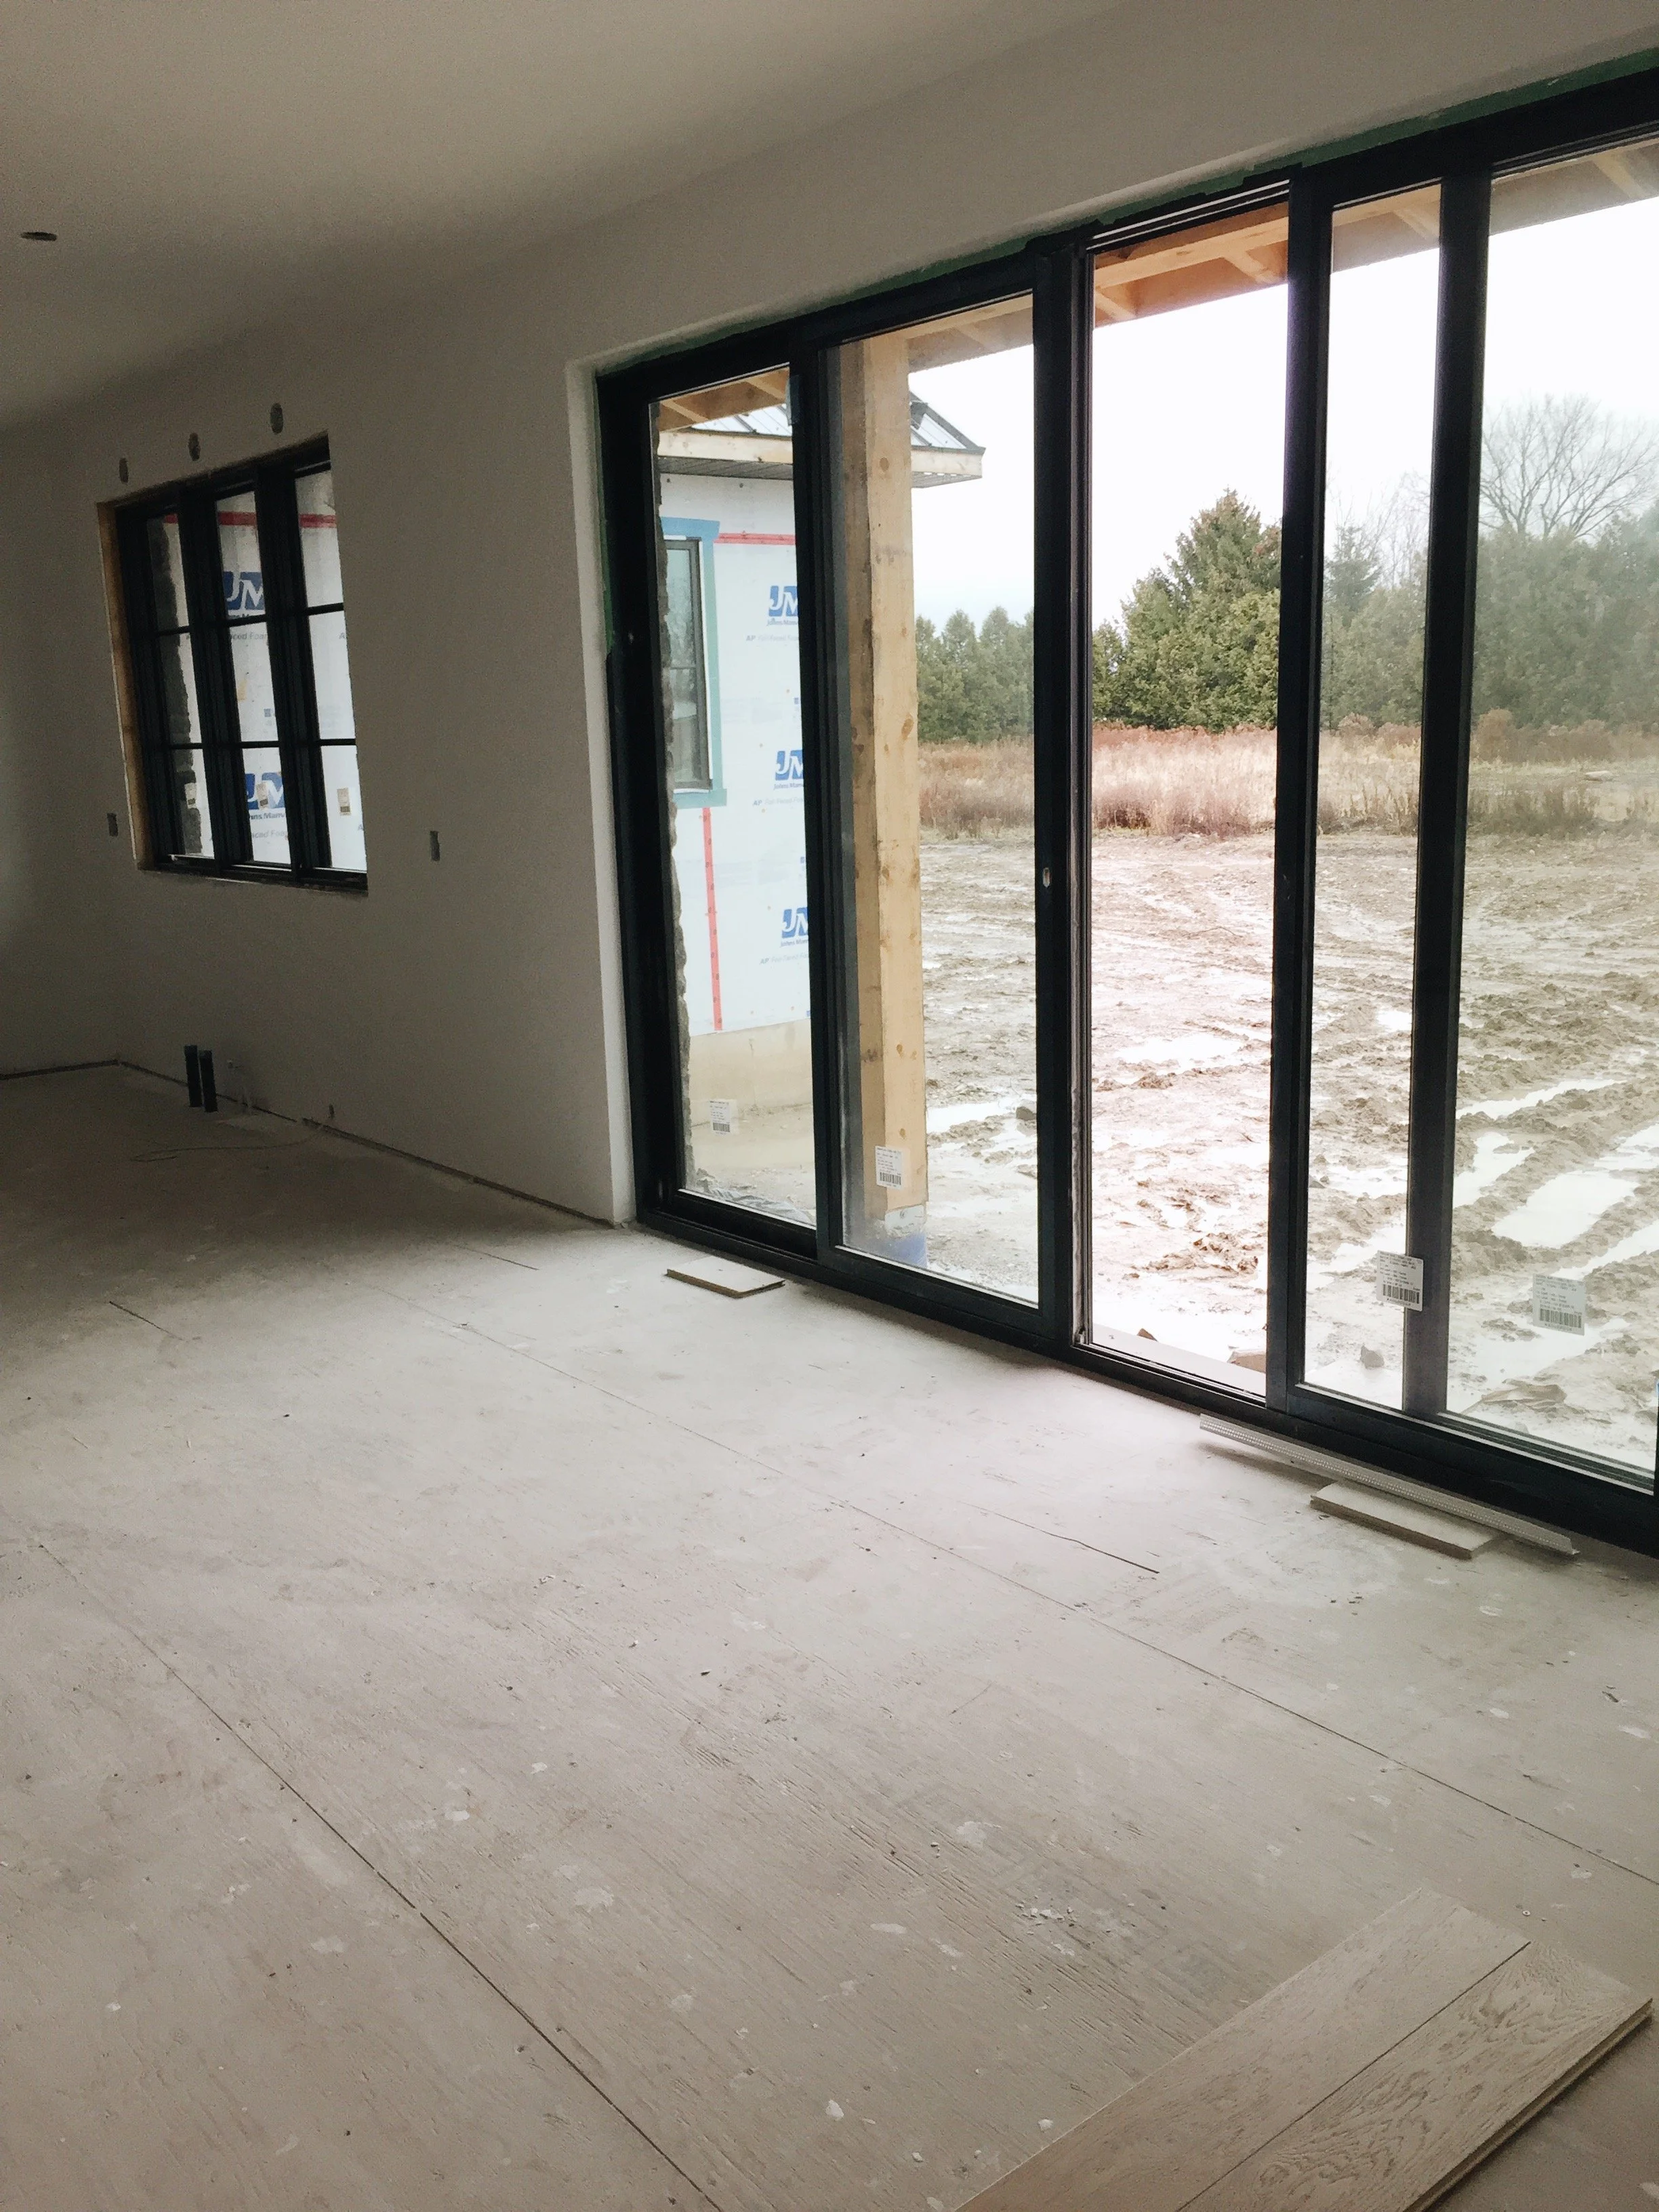
Opposite of the kitchen, below, is the living room/fireplace with the 3 large doors. To the right is a passage to the powder room, Brent's office and the master bedroom.

The black room is Brent's office. We have plans to do some type of wall moulding on the empty wall with his desk stationed in the middle (below).

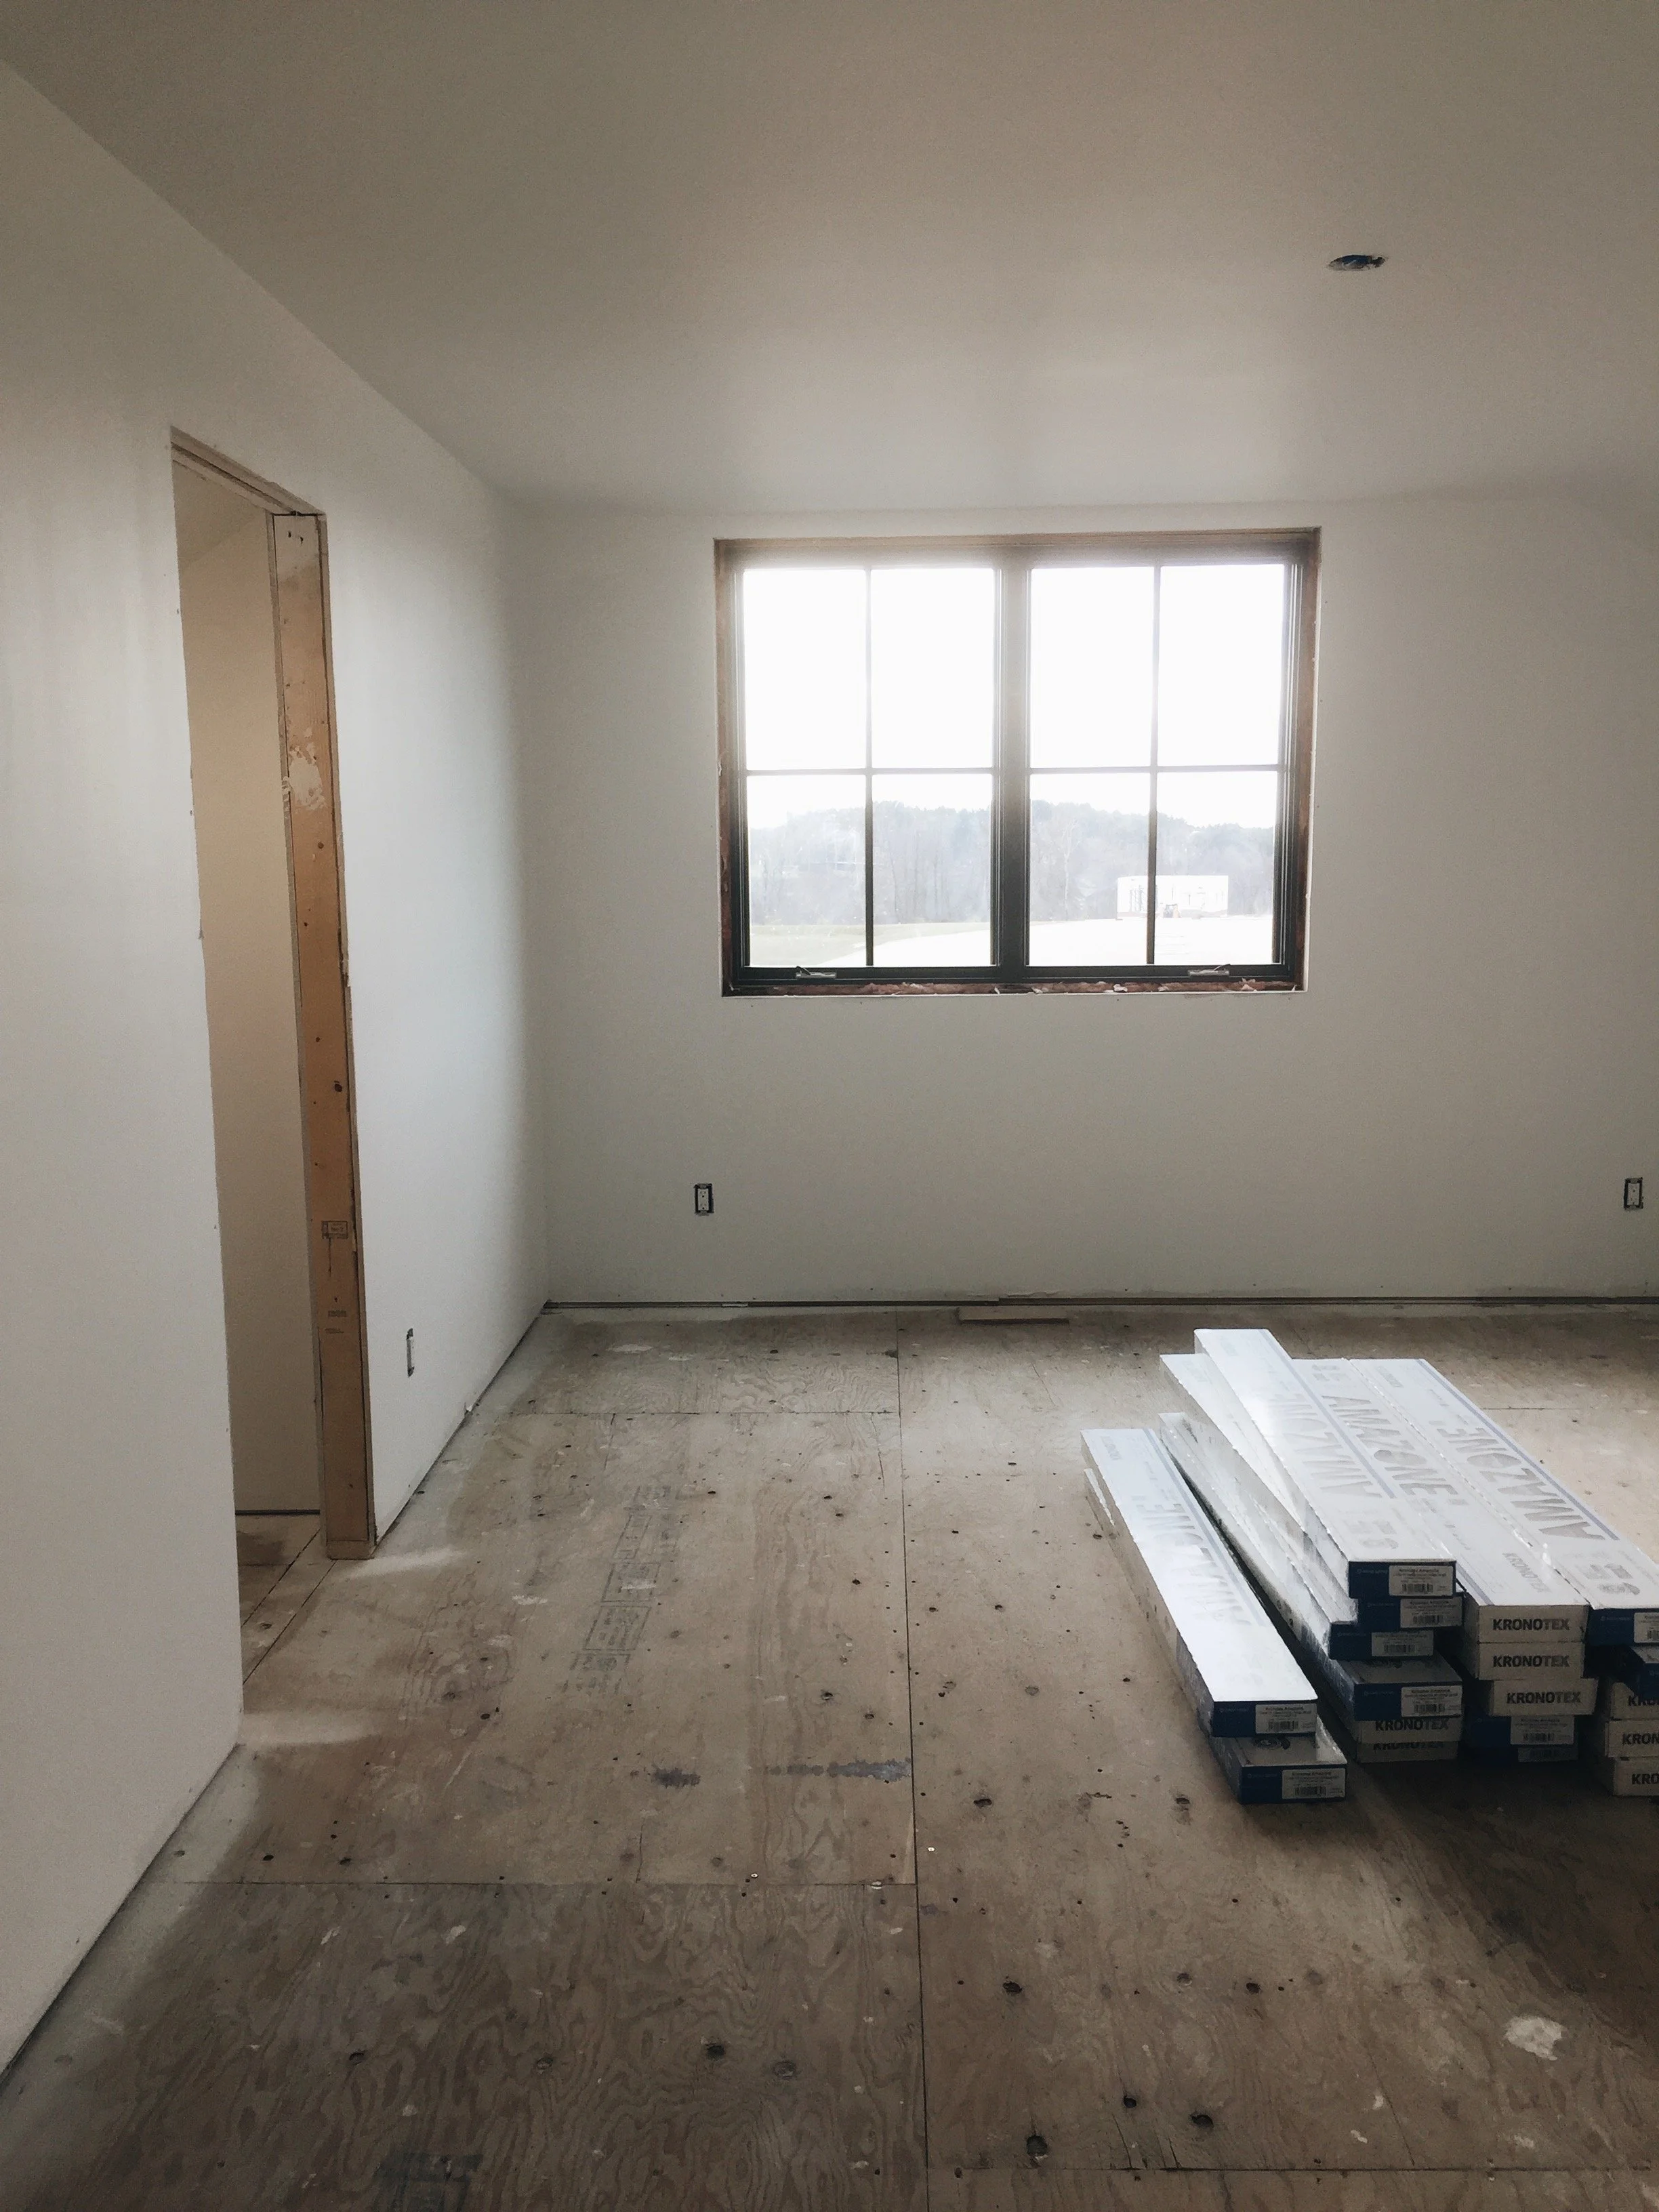
This is our master bedroom (above) looking into the master closet and master bathroom. Gosh, this progress is so exciting but its a little scary since we basically designed this house from the ground up, all the finishes we selected and the placement for everything from light fixtures to receptacles is all on us.


Master Bathroom where Brent and I will have our own vanity between the window. Now does that mean Brent is responsible for keeping his side clean???The view out to the back porch. We are SO HAPPY with our stone (which is manmade but looks legit!). Our mason Joe, did an amazing job and it really shows :)

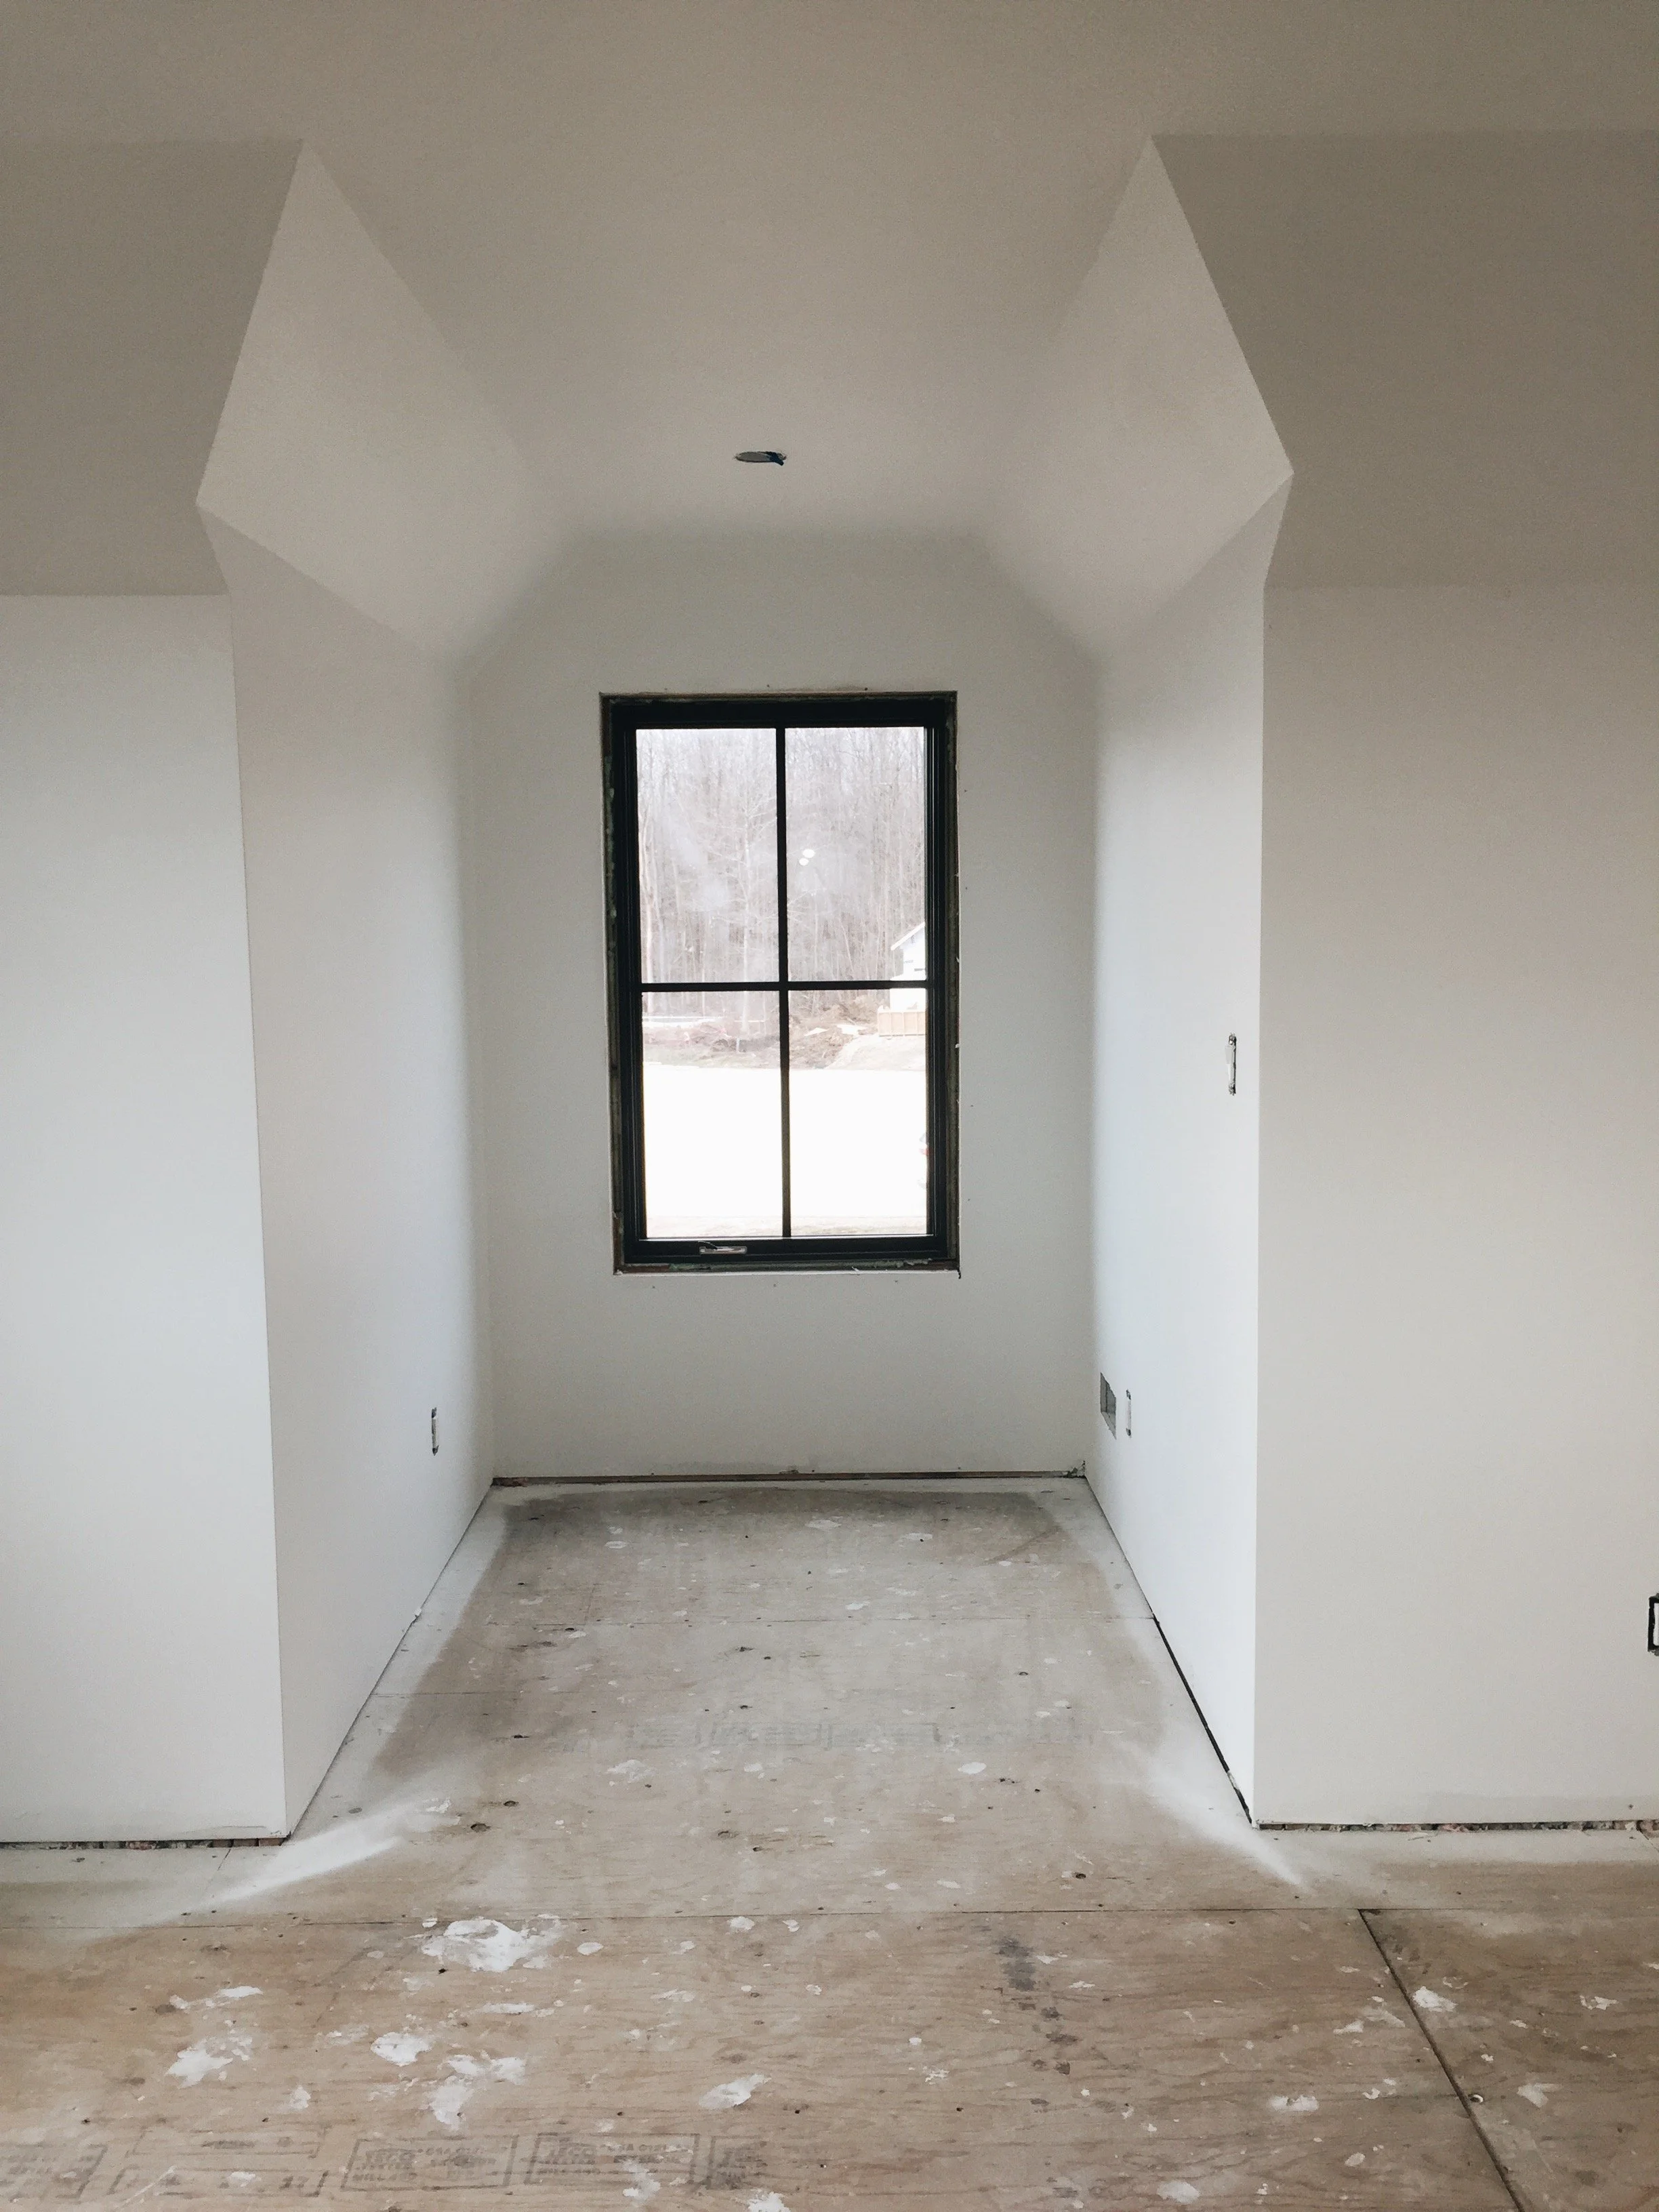
This is one of the dormers in the boys bedroom. They will be sharing a room in the new house... we did ask the boys if they wanted their own room, but they decided to stick together :). Max says he would like his bed positioned in the dormer, lol what a kid.
Our house seems deceiving from the exterior but from an interior perspective, it feels comfortable. We didn't install much millwork up front except for your typical trim(millwork is something known to give your home some detail and character on the walls/ceiling), but that's because its a bit of a costly add-on that we can always incorporate into our home down the road. We decided to splurged on areas of our home that would influence the structure of our house permanently. The windows and loft-style staircase give our home that quality which will last for decades.
Infloor installation December 1st.
We had Tri-Mech over last Friday and they installed the infloor heating in both the mudroom and master bathroom. We have never had infloor heating, but since having our basement done, it's unbelievable how much the infloor heats up the basement and travels up to the main level- it's such a dream!! We are really happy with how professional the Tri-Mech team has been throughout our house build journey. They are very thorough on the job site and informative so you understand exactly what is happening during their visits. Also, any time we had a question or needed something changed, they were a friendly call away.

Above are the stages of infloor heating. It took less than a day to install these two rooms. Next we will install our floor tile over top of the cement board (far right photo).

Here is a glimpse at the exterior progress —all of the stone is complete! Brent's dad just finished the tiny roof over the front porch, now we just need to add the metal and fascia to complete it. So maybe the next update, we will officially be calling this place home!? (roughly 8 weeks away, whaaaaat!?)